




Few coating defects are as frustrating as pinholes and craters. These tiny imperfections can appear seemingly out of nowhere, turning what should be a clean, professional finish into a surface riddled with small voids, dimples, or depressions. For contractors, applicators, and property owners using INSECO Specialty Coatings, understanding why these defects occur and how to correct them is essential to delivering the high-performance results that INSECO products are engineered to provide.
The good news is that pinholes and craters are almost always preventable. And when they do appear, they can be addressed with the right diagnostic approach and corrective technique. This guide walks you through the causes, prevention strategies, and remediation steps so you can protect the integrity of your project.
Understanding the Difference Between Pinholes and Craters
Before diving into causes and solutions, it helps to distinguish between these two related but distinct defects. While they are often grouped together, they form through slightly different mechanisms and may point to different root causes.
What Are Pinholes?
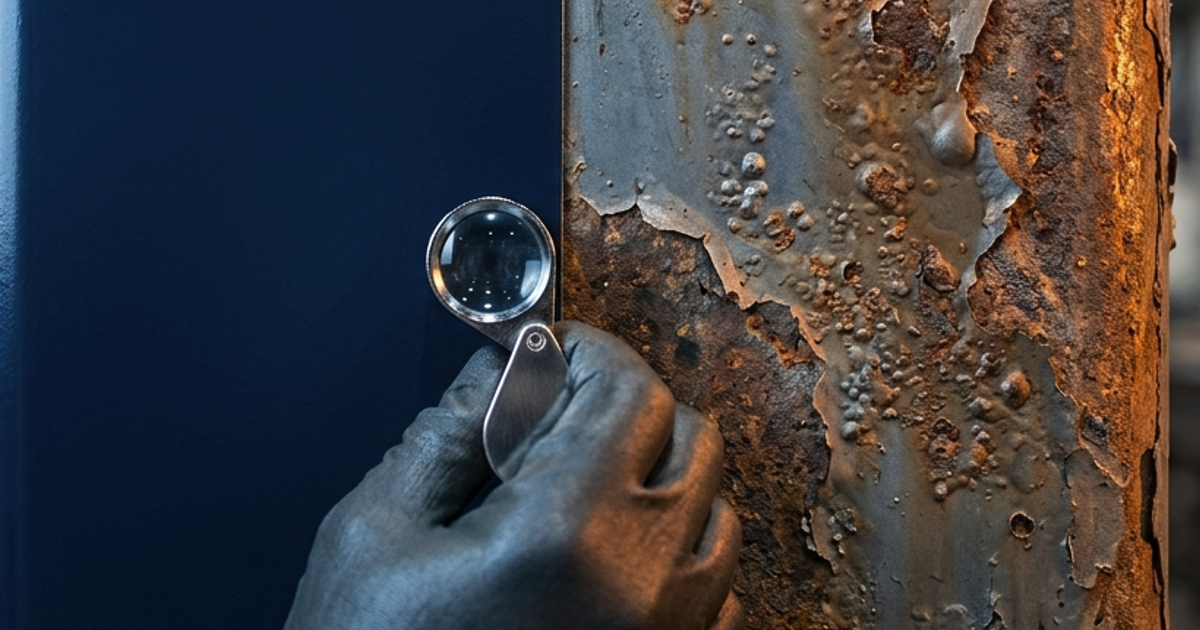
Pinholes are small, deep voids that penetrate through the coating film, resembling tiny punctures or needle marks. They are typically caused by air or gas escaping from the substrate or the coating film itself during the drying or curing process. The surface tension of the wet film closes over the gas bubble before the film has fully released it, creating a channel that remains as the coating dries.
What Are Craters?
Craters are shallow, dish-shaped depressions in the dried coating surface. They tend to have a wider diameter than pinholes and are usually caused by surface contamination rather than outgassing. When a foreign substance — such as a droplet of oil, silicone, water, or a solvent with lower surface tension — lands on the wet coating, it disrupts the film by causing localized surface tension differences. The coating pulls away from that point, leaving behind a small circular depression.
Common Causes of Pinholes and Craters in Specialty Coatings
Identifying the cause of your pinhole or crater problem is the most important step in fixing it. There are several common culprits that INSECO's technical team encounters regularly across wood, concrete, brick paver, and natural stone applications.
Substrate Outgassing
Porous substrates such as concrete or certain wood species can trap air within their structure. When a coating is applied over a warm or heated surface, or when the substrate temperature rises after application, that trapped air expands and pushes up through the wet coating film. If the film has already begun to skin over, the escaping air cannot fully release, resulting in pinholes. This is particularly common with concrete and masonry surfaces exposed to direct sunlight during application.
Applying Coating Over a Contaminated Surface
Even trace amounts of contamination on the substrate surface can cause craters. Common contaminants include:
- Silicone residue from previous sealers or release agents
- Oil and grease from mechanical equipment or hand contact
- Wax residues from previous coating systems
- Airborne contaminants such as overspray from nearby painting activity
- Water droplets landing on a partially cured wet film
- Dust and fine particulates that carry organic residues
INSECO has consistently found that surface contamination is one of the leading causes of crater defects across all substrate types. Even surfaces that appear clean to the naked eye can harbor invisible residues that disrupt film formation.
Incorrect Application Technique
Applying INSECO coatings too quickly, using the wrong applicator, or working under improper environmental conditions can introduce air into the film mechanically. Using a roller with an overly aggressive nap on a smooth surface, for example, can create micro-bubbles in the wet film that later collapse into pinholes. Similarly, applying coating at an excessive film thickness in a single pass can trap air before the film can release it properly.
Environmental Conditions at Time of Application
High temperatures, low humidity, and strong air movement can all contribute to pinhole formation by causing the surface of the coating to skin over too quickly. When the top layer of the film begins to dry before the underlying material has fully released its solvents or moisture, gas pressure builds beneath the skin and punches through, creating pinholes. Conversely, high humidity levels can introduce moisture into certain coating types, contributing to crater formation through water contamination of the wet film.
Improper Mixing or Thinning
In multi-component INSECO products, incorrect mixing ratios or inadequate mixing time can lead to inconsistent viscosity throughout the material. Localized areas of thicker or thinner film can behave differently during drying, resulting in surface irregularities including pinholes. Over-thinning can also reduce surface tension properties, making the film more susceptible to crater formation from even minor surface contamination.
How to Prevent Pinholes and Craters Before They Start
Prevention is always the most cost-effective approach. The following practices will dramatically reduce the likelihood of pinhole and crater defects in any INSECO coating application.
Prepare the Substrate Thoroughly
Proper surface preparation eliminates the primary conditions that lead to both types of defects. For concrete and masonry surfaces, this means ensuring all laitance, curing compounds, form release agents, and previous coating residues are fully removed. For wood surfaces, confirm that the substrate is free of mill glaze, natural oils, and surface moisture. INSECO recommends consulting the product-specific technical data sheet for surface preparation guidance before beginning any application.
Apply During Favorable Conditions
Schedule your application when surface and ambient temperatures are within the recommended range specified on your INSECO product data sheet. Avoid applying coatings when the substrate surface temperature exceeds the recommended maximum, as this accelerates outgassing and surface skinning. In hot, sunny conditions, consider applying to shaded surfaces first and timing your work to avoid peak heat hours.
Use the Correct Application Method and Film Thickness
Follow INSECO's recommended application rate and film thickness guidelines precisely. Applying at the correct wet film thickness ensures that air and solvents can escape through the film at the proper rate during drying. Avoid the temptation to apply thicker coats to reduce labor time, as this is one of the most reliable ways to induce pinhole defects in any specialty coating product.
Keep the Work Area Contamination-Free
Before and during application, take active steps to eliminate contamination risks. Clean all application tools thoroughly before use. Keep the work area free from airborne dust and overspray from other trades. Avoid handling application tools with bare hands if you have applied any skin care products or lubricants. For large projects, consider wind barriers to prevent airborne contamination from settling on the wet film.
How to Repair Pinholes and Craters in a Cured INSECO Coating
When defects do appear despite best efforts, a systematic repair approach will restore the surface to the standard expected from INSECO Specialty Coatings.
Step One: Identify the Root Cause
Before beginning any repair, diagnose what caused the defect. Recoating over an unresolved root cause will simply reproduce the same problem. Inspect the surface carefully, review application conditions and records, and determine whether the defect pattern points to outgassing, contamination, or technique-related causes.
Step Two: Prepare the Defect Area
Lightly abrade the affected area to remove any sharp edges around the pinholes or craters and to open the surface for proper adhesion of the repair coat. Remove all sanding dust and any contamination using INSECO-approved cleaning methods appropriate for the substrate type. For contamination-related craters, thorough cleaning of the defect area is critical before recoating, as residual contaminant will cause the new film to crater again.
Step Three: Apply the Repair Coat
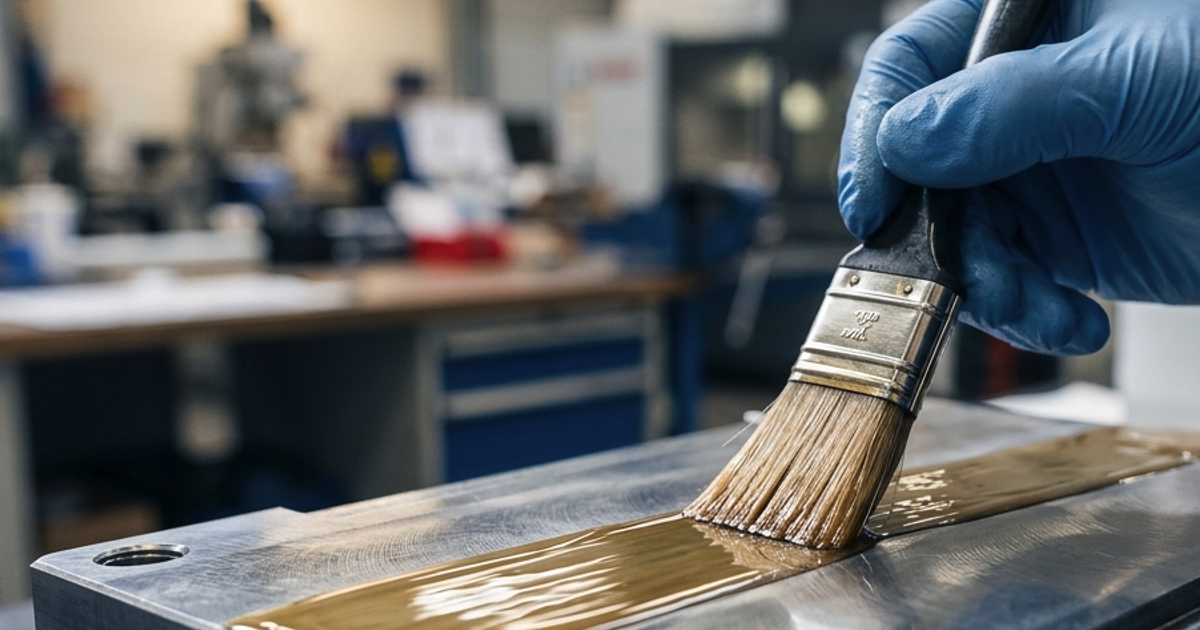
Apply the appropriate INSECO product to the prepared area following the standard application guidelines. Ensure that environmental conditions are favorable at the time of repair application. For concrete substrates with outgassing defects, consider applying in cooler conditions or to a shaded surface to minimize gas pressure during film formation.
Step Four: Inspect and Evaluate
Once the repair coat has fully cured, inspect the surface under appropriate lighting to confirm that the defects have been resolved. Check that gloss level and surface texture are consistent with the surrounding area. If any irregularities remain, consult INSECO's technical support team for additional guidance specific to your product and substrate.
When to Contact INSECO Technical Support
INSECO's reputation is built on both the quality of its products and the depth of its technical assistance. If you are experiencing persistent pinhole or crater defects that resist standard corrective measures, INSECO's technical team is available to help you identify the specific cause and develop a tailored solution. Whether your project involves WOOD Rx on a hardwood deck, a concrete sealer application on a commercial plaza, or a natural stone treatment on an exposed facade, the INSECO team has the expertise to guide you toward a defect-free finish.
Bringing detailed information to that conversation — including the product used, application method, environmental conditions at time of application, substrate type and condition, and photographs of the defect — will allow INSECO's technical staff to provide the most accurate and actionable recommendations. Precision in diagnostics leads to precision in results, and that is the standard that INSECO has maintained since 1996.