One of the most reliable ways to prevent a costly application failure is also one of the most frequently skipped steps in the coating process: the field test. Whether you are working with a familiar substrate or approaching a new surface type for the first time, performing a controlled field test before committing to a full application can save significant time, labor, and material. At INSECO, we strongly encourage professionals and serious DIYers alike to build this step into every project workflow.
Field testing is not a sign of uncertainty. It is a sign of professionalism. The conditions on a job site are never perfectly predictable, and even the most experienced applicators encounter variables they did not anticipate. A well-executed field test gives you the data you need to apply INSECO specialty coatings with confidence.
Why Field Testing Matters Before Every Project
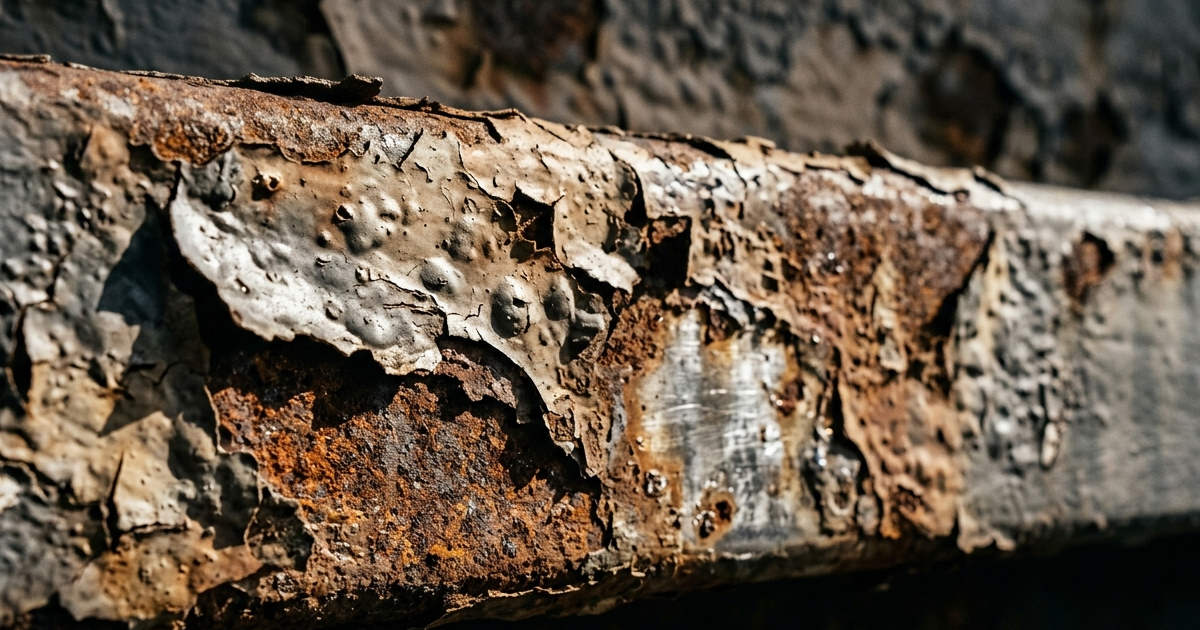
It is easy to assume that because a coating worked well on a previous job, it will perform the same way on the current one. But substrates vary widely, even within the same material category. A pressure-treated deck board behaves differently than an aged cedar plank. A newly poured concrete slab presents different challenges than a ten-year-old pavement surface that has seen sun, rain, and traffic.
Field testing allows you to evaluate how the coating interacts with the actual surface you are working on, under the actual environmental conditions present at the time of application. It reveals absorption rates, surface porosity, potential adhesion concerns, and how the finish will look before you scale up to the entire project.
Common Problems That Field Testing Can Reveal Early
- Unexpectedly high or low substrate porosity that affects coverage rates
- Residual moisture content that could interfere with adhesion or dry time
- Contamination from previous coatings, sealers, or surface treatments
- Color or sheen variation caused by inconsistent surface texture
- Incompatibility between the substrate and the chosen INSECO coating product
- Surface pH issues, particularly common on concrete and masonry surfaces
- Evidence of efflorescence, oils, or other contaminants not visible to the naked eye
Identifying any of these issues during a small-scale test is far less disruptive than discovering them mid-project. A field test is your opportunity to solve problems before they multiply.
How to Conduct a Proper Field Test with INSECO Coatings
The goal of a field test is to replicate the full application process in miniature. That means using the same product, the same applicator, the same number of coats, and the same technique you plan to use on the complete surface. Cutting corners during the test phase defeats its purpose entirely.
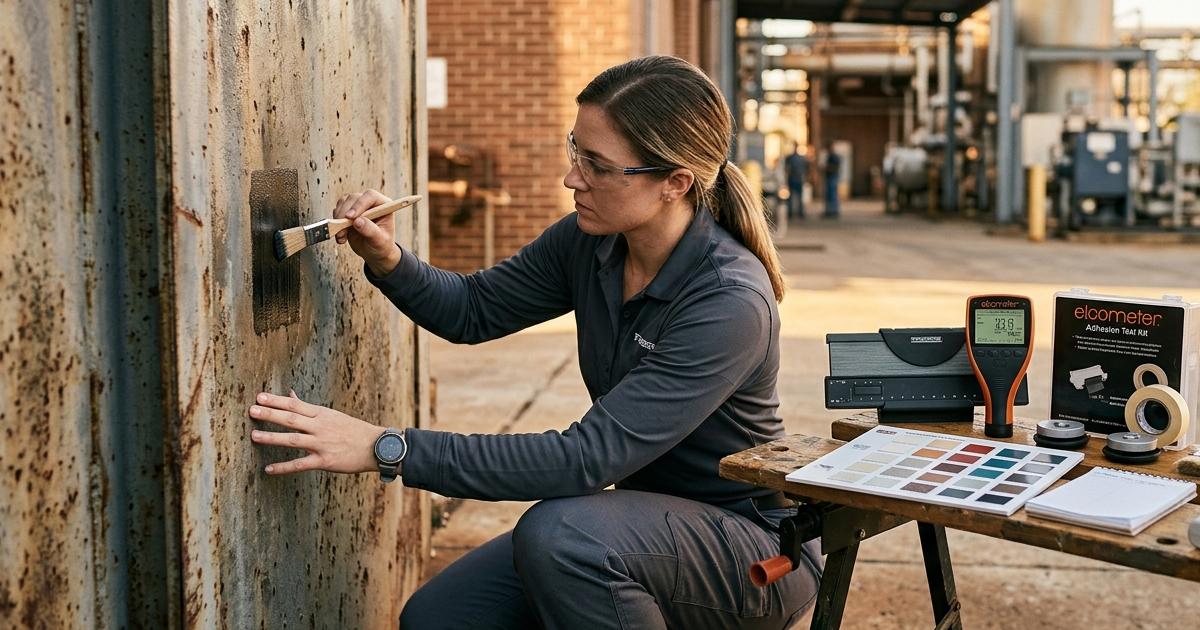
Step One: Select a Representative Test Area
Choose a section of the surface that is representative of the overall project. Avoid selecting an area that has been unusually protected from sun, moisture, or foot traffic. The test patch should reflect the real conditions of the surface, not the best-case scenario. A patch of approximately two to four square feet is generally sufficient for most residential and light commercial applications.
Step Two: Prepare the Test Area Exactly as You Would the Full Surface
Surface preparation must be consistent between your test area and your full project. If your plan includes cleaning, sanding, etching, or priming the main surface, apply those exact steps to the test area as well. Skipping preparation steps in the test will give you misleading results that do not translate to the final application.
Step Three: Apply the Coating Using Your Planned Method
Apply the INSECO coating product using the same applicator type and technique you intend to use on the full surface. Pay close attention to how the coating absorbs, spreads, and levels. Note whether the surface is pulling the product in too quickly or resisting absorption. These observations are critical data points that will help you adjust your technique and coverage rate before the full application begins.
Step Four: Allow Full Cure Time Before Evaluating
One of the most common mistakes in field testing is evaluating results too soon. A coating may look acceptable at the one-hour mark but reveal adhesion issues, uneven sheen, or color inconsistency once it has fully cured. Always allow the test area to cure completely according to the product data sheet specifications before drawing conclusions. For most INSECO products, this means waiting at least 24 to 72 hours under normal conditions, and longer if temperatures are low or humidity is elevated.
Step Five: Inspect the Test Area Thoroughly
Once cured, examine the test area under good lighting conditions. Look for any of the following: uneven sheen, color variation, lifting, bubbling, soft spots, tackiness, or adhesion failure at the edges. Run your hand over the surface to assess texture. If the area will see foot traffic or mechanical stress, perform a simple adhesion scratch test using a fingernail or utility knife to gauge how well the coating has bonded to the substrate.
Interpreting Your Field Test Results and Moving Forward
A successful field test is one where the coating performs as expected and the finish meets your quality standard. If the test results are satisfactory, you can proceed to the full application with confidence, knowing that your chosen product, surface preparation method, and application technique are well matched to the job conditions.
If the field test reveals problems, do not ignore them. Use the data to troubleshoot before moving forward. Common corrective actions include adjusting the dilution ratio, applying an additional prep step such as etching or priming, switching applicator types, or revisiting surface moisture levels. In some cases, the field test may indicate that a different INSECO product is better suited for the substrate or exposure conditions.
When to Contact INSECO Technical Support
If your field test produces results that you cannot explain or correct on your own, this is the right time to contact the INSECO technical support team. Our technical staff can help you interpret what you observed, identify the root cause of the issue, and recommend the correct course of action. Providing photographs of the test area along with details about surface type, preparation steps, environmental conditions, and the product used will help our team give you the most accurate guidance possible.
INSECO has built its reputation on more than just high-performance products. Our commitment to comprehensive technical assistance means that you are never left to troubleshoot alone. Whether you are a seasoned contractor or tackling your first major sealing project, we are here to support your success every step of the way.
Building the habit of field testing into your standard workflow is one of the smartest investments you can make as an applicator. It costs very little in time and material, but the value it delivers in avoided failures, saved rework, and superior finished results is immeasurable. Trust the process, test before you commit, and let INSECO specialty coatings perform at the level they were engineered to achieve.