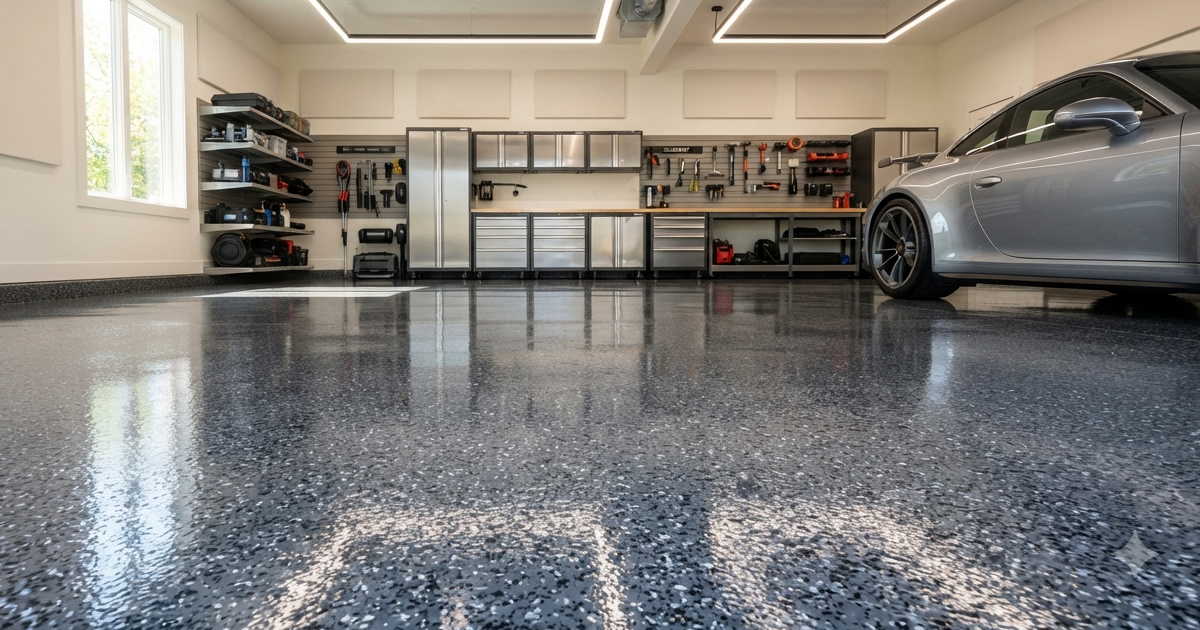
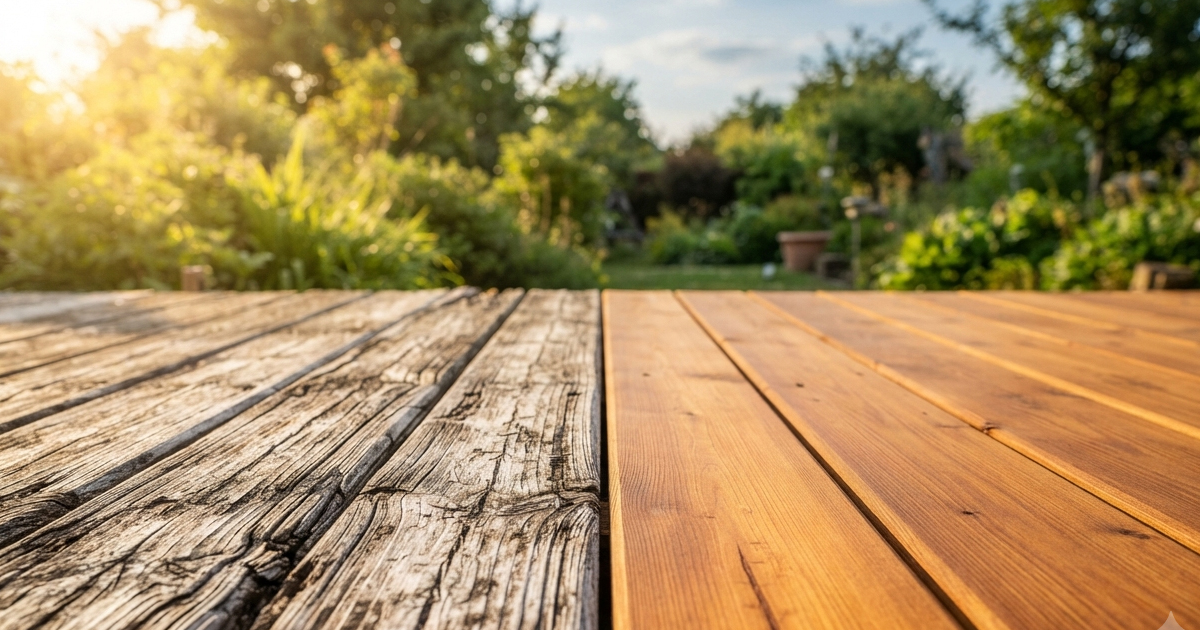
When most people think about wood sealers and protective coatings, their minds immediately go to decks, fences, and outdoor furniture. It makes sense. Exterior wood takes a visible beating from rain, UV radiation, freezing temperatures, and humidity swings. The damage is obvious and the urgency is clear. But interior wood surfaces face their own set of challenges, and the approach to sealing and protecting them is meaningfully different from what works outdoors. Getting those differences wrong can lead to coating failures, aesthetic disappointments, or even indoor air quality issues that are difficult to trace back to their source.
Whether you are a homeowner refinishing hardwood floors, a contractor sealing interior wood beams, or a facility manager protecting wood surfaces in a commercial space, understanding the nuances of interior wood coating applications will save you time, money, and frustration. This guide breaks down the key distinctions and delivers the pro-level insight you need to do it right the first time.
Why Interior Wood Sealing Is a Different Science Entirely
Interior wood surfaces are not exposed to the same environmental extremes as exterior surfaces, but that does not mean they are low-stakes. In fact, interior applications often demand more precision because there is less room for error. A coating failure on a deck can be stripped and reapplied relatively forgiving. A bubbling finish on a hardwood floor or a cloudy seal on a wood countertop is immediately noticeable and costly to correct.
The Role of Indoor Humidity and Temperature Stability
One of the most critical factors in interior wood coating success is understanding how interior environments differ from exterior ones in terms of humidity and temperature. Indoors, temperature is more stable, but that stability can actually work against you in certain scenarios. Buildings with forced air heating become extremely dry in winter months, causing wood to contract. In summer, humidity introduced through cooking, showering, and simply opening doors can cause wood to expand. These constant micro-movements stress any coating applied to the surface.
For interior applications, always acclimate your wood to the space before sealing. This means the wood should be in the room at normal living or working conditions for a minimum of 72 hours before any coating is applied. Skipping this step is one of the most common reasons interior wood coatings fail prematurely, as the wood continues to move after the sealer has been applied and cured.
Ventilation Considerations Are Non-Negotiable
Exterior coatings benefit from natural airflow that disperses solvent vapors and accelerates off-gassing. Indoors, you control the environment, which means you also control the air quality. Certain solvent-based coatings that are perfectly appropriate for exterior use can create hazardous fume concentrations indoors if proper ventilation is not established. Always review the VOC content and ventilation requirements of any product before applying it in an enclosed space. Water-based formulations have advanced significantly in recent years and are often the preferred choice for interior applications precisely because of their lower VOC profiles and more manageable drying characteristics in enclosed environments.
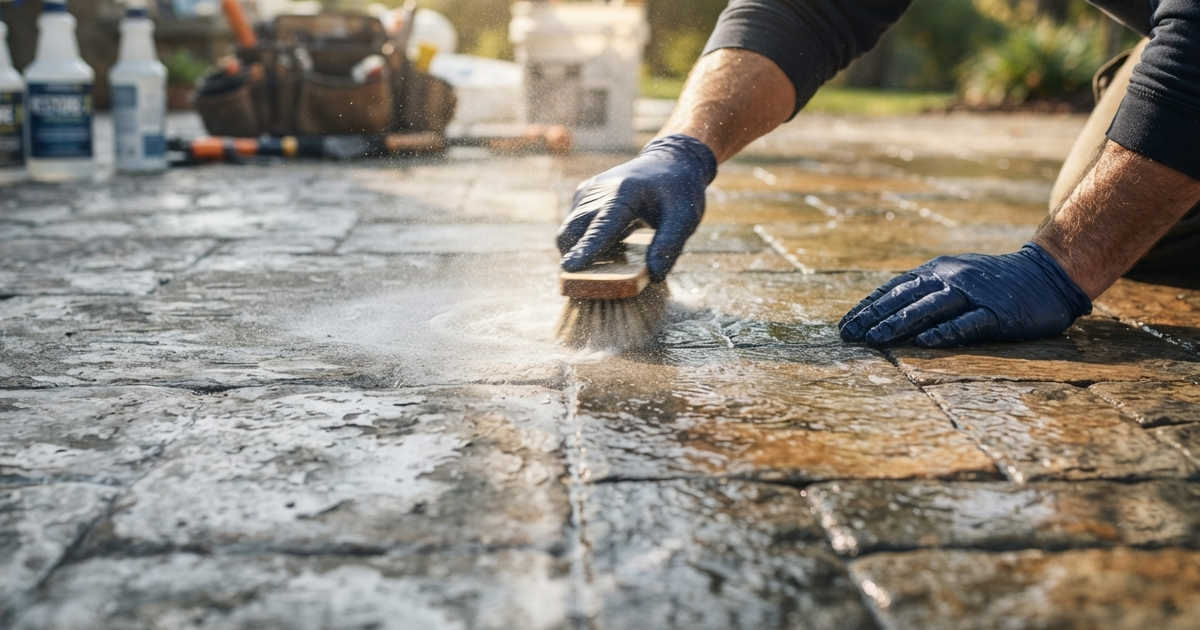
Pro Tips for Preparing Interior Wood Surfaces Before Sealing
Surface preparation is the foundation of any coating project, interior or exterior. But interior prep work has specific considerations that are easy to overlook, particularly in occupied spaces or commercial environments where disruption must be minimized.
Sanding Strategy for Interior Wood
Interior wood surfaces, particularly floors, have often been previously finished. Whether you are dealing with old lacquer, polyurethane, wax, or a penetrating oil sealer, the existing coating must be assessed before you apply anything new. Attempting to seal over an incompatible existing finish is one of the most preventable coating failures in the industry.
Use the following preparation approach for the best results on interior wood:
- Begin with a coarse grit sandpaper appropriate to the amount of material you need to remove, typically 60 to 80 grit for full stripping, moving to 120 and finishing at 150 to 220 grit for final surface smoothing.
- Always sand with the grain of the wood, never against it. Cross-grain scratches will telegraph through your finished coating and be visible in raking light.
- After final sanding, vacuum the surface thoroughly, then wipe down with a tack cloth or a clean, lightly dampened microfiber cloth to capture all remaining dust particles.
- Allow any moisture introduced during cleaning to fully evaporate before applying your sealer. In most interior conditions, 30 to 60 minutes is sufficient, but verify with a moisture meter.
- On porous or open-grained woods such as oak or ash, consider applying a wood conditioner or grain filler before sealing to prevent uneven absorption and blotching.
- Test any chemical stripper in an inconspicuous area before committing to a full application, particularly on stained or dyed wood where the underlying color may shift.
Moisture Testing Is Not Optional
A moisture meter is one of the most valuable tools a coating professional can carry. Interior wood that appears dry to the touch may still contain moisture levels too high for a sealer to bond properly. For most interior hardwood applications, you want to see a moisture content reading between 6 and 9 percent. Wood above 12 percent moisture content is at significant risk of trapping moisture beneath your coating, which leads to blistering, peeling, and eventual mold formation beneath the film.
Choosing the Right Interior Wood Sealer for the Job
Not all sealers are formulated for interior use, and not all interior sealers perform the same way across different wood types and applications. Making the right product selection requires understanding the specific demands of the surface and environment in question.
High-Traffic Interior Floors vs. Low-Traffic Decorative Surfaces
A hardwood floor in a commercial lobby experiences fundamentally different stress than a wood wainscoting panel or an interior door. For high-traffic floor applications, you need a sealer that forms a hard, abrasion-resistant film capable of withstanding foot traffic, furniture movement, and periodic cleaning with mild detergents. For decorative surfaces, the emphasis shifts toward color clarity, grain enhancement, and breathability that allows the wood to continue its natural moisture exchange without building pressure beneath the coating film.
Penetrating Sealers vs. Film-Forming Sealers for Interior Wood
This is a distinction every contractor and informed homeowner should understand before making a product selection. Penetrating sealers, sometimes called oil-based sealers or impregnating sealers, work by absorbing into the cellular structure of the wood rather than forming a film on top of it. They are excellent at enhancing natural grain and providing moisture resistance from within, and they tend to wear more gracefully over time without peeling or flaking. Film-forming sealers, by contrast, sit on top of the wood surface and create a physical barrier. They offer greater surface protection against abrasion and liquid spills, but they are more susceptible to visible wear patterns and require complete removal before reapplication is possible.
For interior decorative wood surfaces, beams, mantles, and furniture, a penetrating sealer is often the more elegant long-term solution. For floors and countertops that will see direct contact and moisture exposure, a quality film-forming sealer or topcoat system is typically the more practical choice. The key is matching the product to the performance demand, not defaulting to whatever is most familiar or most available.
How INSECO's Approach Applies Indoors
INSECO's philosophy of refined, purpose-built specialty coatings translates directly to interior applications. The same principles that make WOOD Rx a leading exterior wood sealer, precise formulation, surface-specific performance, and comprehensive technical support, are exactly what distinguish a professional interior coating outcome from an amateur one. When in doubt about product selection for a specific interior wood substrate, leveraging the technical assistance that INSECO provides is a legitimate competitive advantage for contractors and an invaluable resource for homeowners who want to get it right the first time without trial and error.
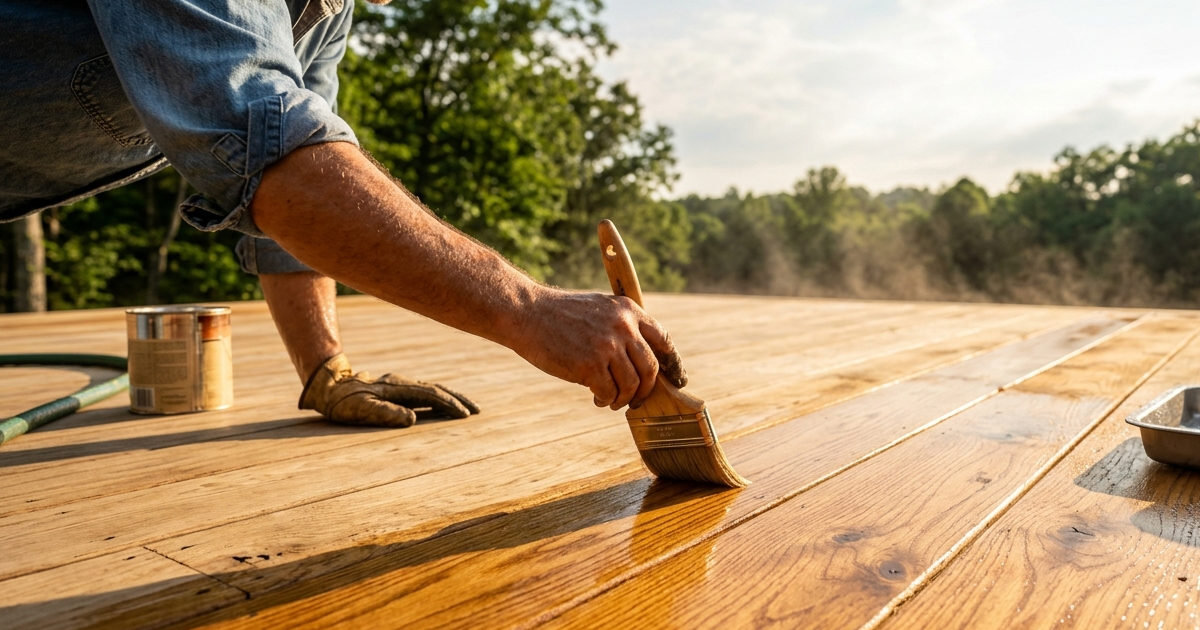
Application Best Practices for Interior Wood Sealers
Even the best formulated sealer will underperform if it is applied incorrectly. Interior wood sealing has specific application nuances that differ from exterior work in meaningful ways.
Application Temperature and Humidity Windows
Unlike exterior applications where temperature and humidity fluctuate throughout the day and force you to work within narrow environmental windows, interior conditions are more controllable but not always ideal. Maintain interior temperature between 60 and 85 degrees Fahrenheit during application and throughout the curing process. Humidity should ideally remain between 40 and 60 percent. If you are working in a space that tends toward very low humidity, use a humidifier to prevent the sealer from drying too rapidly on the surface, which can cause brush drag marks and uneven sheen. If humidity is too high, use a dehumidifier and ensure the HVAC system is running to maintain air circulation.
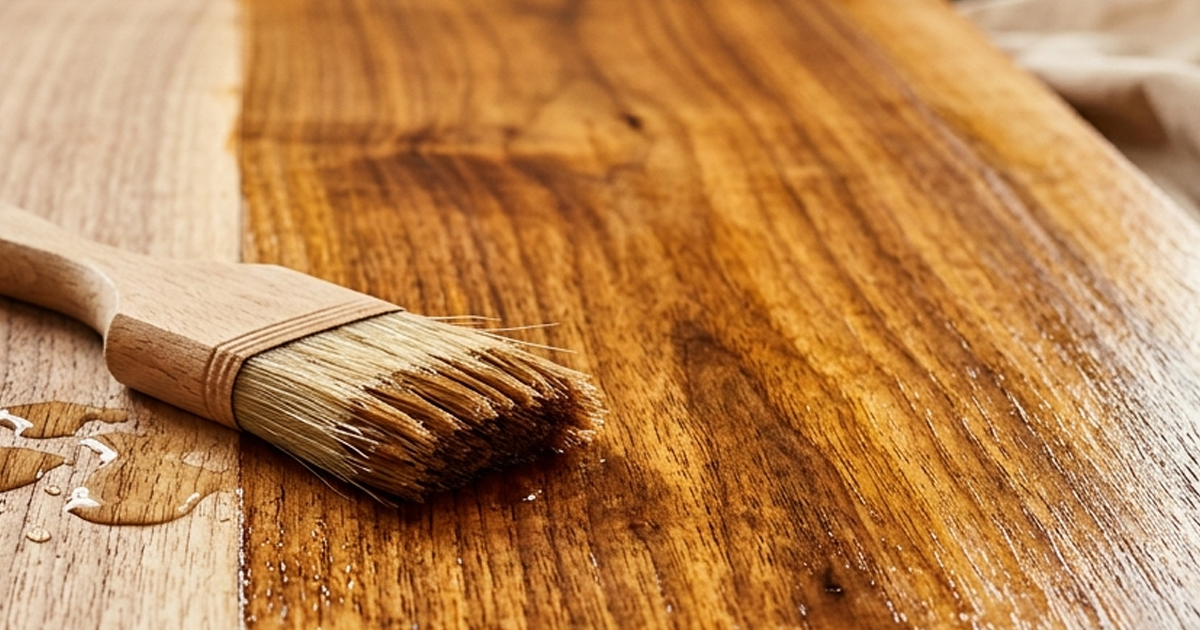
Thin Coats Applied in Multiple Passes
One of the most consistent mistakes in interior wood sealing is applying too much product in a single coat in an attempt to speed up the process. Thick coats trap solvents or water vapor beneath the surface film, leading to cloudiness, bubbles, and adhesion failure of subsequent layers. Apply thin, even coats and allow each coat to fully dry before assessing whether additional coats are needed. Light sanding between coats with 220-grit paper, followed by tack cloth removal of dust, will ensure superior intercoat adhesion and a noticeably finer final finish.
Interior wood sealing is a discipline that rewards patience, precision, and proper product selection. By understanding the unique demands of enclosed environments, preparing surfaces thoroughly, selecting the right sealer for the specific application, and applying it with care and attention to environmental conditions, you will achieve results that are both beautiful and built to last. Whether you are working on a single room or managing a large commercial facility, the fundamentals never change. Quality preparation, quality product, and quality application technique are the three pillars that separate lasting performance from premature failure.