



There is a moment in every surface protection project where ambition meets reality, and that moment usually arrives when you realize the old sealer has to come off before the new one can go on. Whether you are refreshing a weathered deck, revitalizing a concrete patio, or bringing life back to a faded brick paver installation, removing an existing coating is one of the most underestimated steps in the entire resealing process. Skip it or rush through it, and your new product will fail prematurely regardless of how premium it is. Get it right, and you are setting the stage for years of outstanding protection.
At INSECO, we have seen extraordinary products underperform simply because the substrate beneath them was not properly cleared of old chemistry. Understanding why old sealer removal matters and how to execute it correctly is not just practical knowledge, it is the difference between a coating that lasts and one that peels, flakes, or blushes within a single season.
Why Removing Old Sealers Is Non-Negotiable
Many homeowners and even some contractors assume that a fresh coat of sealer applied over an existing one will simply bond and build. In some very specific situations, with compatible products and properly adhered existing coatings, a recoat over a lightly worn sealer is possible. But that scenario is far more the exception than the rule. In most real-world conditions, the old sealer sitting on your surface has been compromised by UV exposure, thermal cycling, moisture infiltration, and physical wear. It has already lost its integrity, and bonding a new layer to a degraded foundation is a recipe for systematic failure.
Think of it this way. If you apply fresh paint over a wall with peeling paint, the peeling does not stop. It continues beneath the new layer and eventually lifts everything above it too. Sealers behave the same way. The new product is only as stable as what it adheres to. Clean, prepared substrate gives the coating chemistry the mechanical and chemical anchor it needs to form a durable, continuous film. Compromised old sealer denies it that foundation entirely.
Signs That the Old Sealer Must Come Off Completely
- Visible peeling, flaking, or bubbling on the surface
- Chalky or powdery residue when you run your hand across the coating
- Discoloration, graying, or blotchy appearance that does not improve with cleaning
- Water no longer beads on the surface, indicating sealer breakdown
- An unknown product was previously applied and compatibility cannot be confirmed
- The surface has not been resealed in many years and buildup of multiple old layers is suspected
- New sealer applied in a test patch is lifting or fisheyeing
If you observe any of these conditions, removal is not optional. It is the only responsible path forward.
Choosing the Right Removal Method for Your Surface Type
No single removal method works across every surface and every type of old sealer. The approach must match the substrate, the chemistry of the existing coating, and the condition of the surface. Using the wrong method can damage the substrate you are trying to protect, so professional judgment and a bit of material knowledge go a long way here.
Mechanical Removal: Pressure Washing, Sanding, and Stripping
For wood surfaces like decks and fences, mechanical methods are often the first line of attack. Pressure washing at appropriate PSI settings can dislodge surface-level sealer that has already begun to break down. However, pressure alone is rarely sufficient for fully intact film-building sealers. In those cases, sanding becomes necessary, particularly for deck boards and railings where penetrating down to raw wood is the goal.
When sanding, work progressively through grit levels rather than jumping straight to aggressive grits that can leave deep scratches in the wood grain. Those scratches will telegraph through your new sealer finish and compromise the aesthetic result. For textured or irregular wood, detail sanders or hand-sanding with a block may be required in areas where machine access is limited.
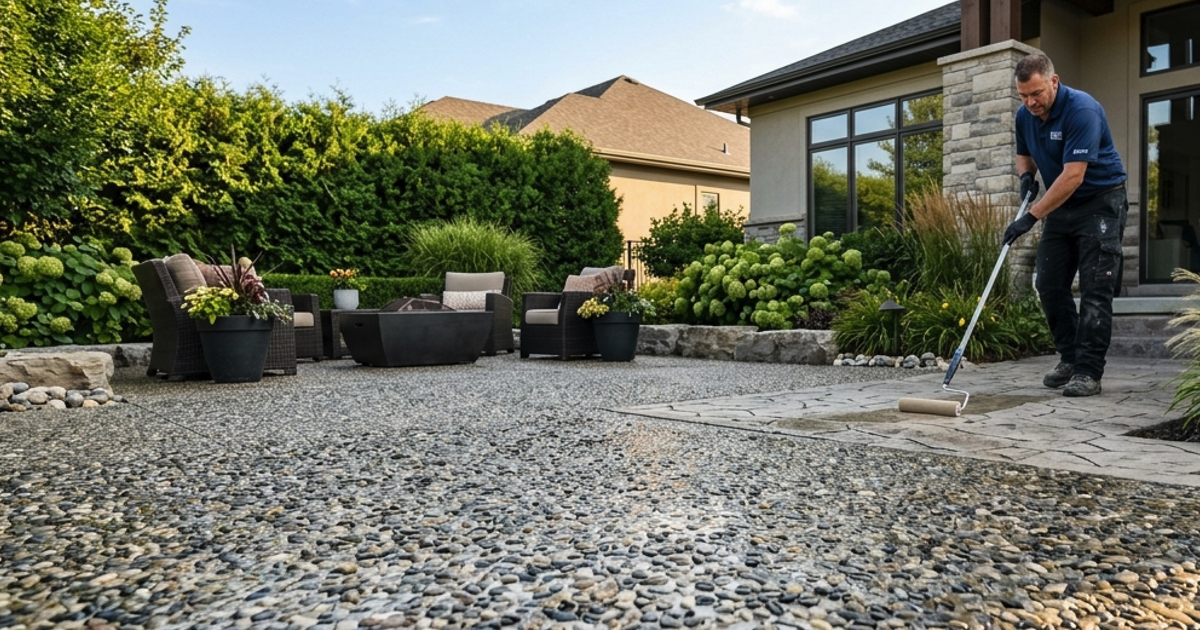
On concrete surfaces, mechanical grinding using diamond-cup wheels or shot blasting equipment is the most effective approach for removing thick or epoxy-based coatings. This level of surface preparation is particularly relevant on garage floors and commercial concrete where heavy-build coatings have been used. For lighter sealers on concrete patios or driveways, aggressive pressure washing combined with a chemical stripper can often achieve the desired result without equipment-intensive processes.
Chemical Strippers: When to Use Them and How to Apply Them Safely
Chemical stripping agents are formulated to penetrate and dissolve existing sealer chemistry, making mechanical removal faster and more complete. They are especially effective on wood surfaces where aggressive sanding would be damaging, and on porous stone or brick paver surfaces where mechanical methods could alter the texture of the substrate.
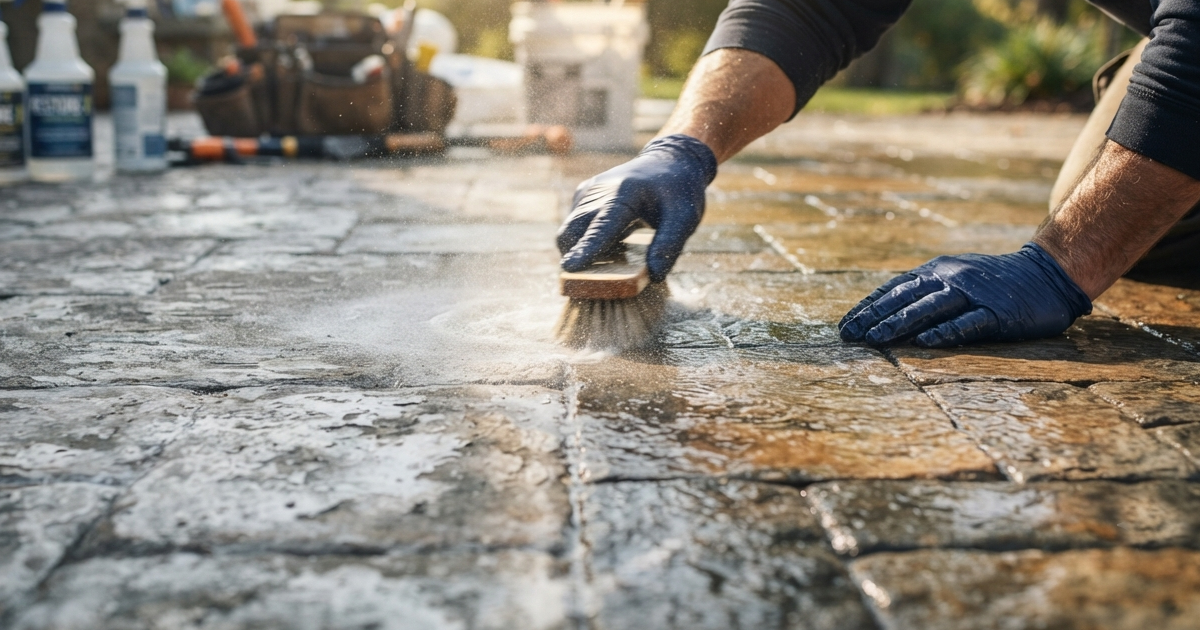
When using chemical strippers, always read the product data sheet carefully and confirm that the stripper chemistry is appropriate for the substrate. Apply stripper evenly using a brush, roller, or low-pressure sprayer and allow the dwell time specified by the manufacturer. Attempting to rinse the stripper too early is a common mistake that leaves partially dissolved sealer residue behind. Once dwell time is complete, use a stiff-bristle brush or pressure washer to remove the loosened coating material.
Pro Tip: Neutralize the surface thoroughly after chemical stripping. Many strippers are alkaline-based, and residual chemistry left on the surface will interfere with the pH-sensitive bonding mechanisms of your new sealer. A diluted acid rinse appropriate to your substrate, followed by a clean water flush, ensures you are starting with a truly neutral, clean canvas.
Removing Old Sealers from Brick Pavers and Natural Stone
Paver and natural stone surfaces present unique challenges because the material itself is often sensitive to aggressive mechanical or highly acidic chemical treatments. For pavers, a dedicated sealer stripper formulated for concrete and masonry applications is typically the safest starting point. Apply with even saturation across the entire surface to avoid leaving behind areas with inconsistent residue levels, which will cause uneven absorption of the new sealer.
For natural stone, particular caution is required. Many stones, especially marble, limestone, and travertine, are reactive to acidic stripping agents and can suffer permanent etching or surface damage from improper chemical use. In these cases, alkaline-based strippers designed for stone are strongly preferred, and mechanical agitation should be kept gentle. When in doubt on a high-value natural stone installation, consulting with a professional applicator experienced with specialty stone coatings is always the right move.
Post-Removal Surface Preparation: The Step That Determines Everything
Successful removal of old sealer is only half of the equation. What you do immediately after removal sets the final conditions under which your new coating will be applied, and those conditions matter enormously to the performance you ultimately get.
Cleaning, Drying, and Inspection After Stripping
After the old sealer has been removed and the surface has been rinsed, allow adequate dry time before any inspection or coating begins. Moisture trapped within wood fibers, concrete pores, or stone capillaries is one of the primary causes of coating adhesion failure, blistering, and premature delamination. Rushing this step is a mistake that no amount of product quality can overcome.
Once dry, conduct a thorough visual inspection of the substrate. Removing old sealer often reveals damage that the coating was previously obscuring, things like wood rot, concrete cracks, paver settlement, or stone spalling. These issues must be addressed and remediated before any new sealer is applied. Sealing over structural problems does not fix them. It conceals them temporarily and accelerates their progression by trapping moisture or stress within the substrate.
Final Surface Prep Before Applying WOOD Rx or Other INSECO Products
With a clean, dry, and structurally sound surface confirmed, the final preparation steps depend on the product being applied. For WOOD Rx, INSECO's flagship wood sealer, the surface should be clean, dry, and free of any dust, debris, or chemical residue. Wood should be at appropriate moisture content levels, typically below 15 percent, to ensure proper penetration and cure of the sealer chemistry.
Lightly sanding any rough or raised grain on wood after stripping will result in a smoother finished appearance and promote even product absorption. On concrete and masonry surfaces destined for INSECO specialty coatings, confirming the surface profile and porosity by conducting a water drop absorption test is a fast and reliable way to verify that the substrate is ready to receive a new coating. If water absorbs quickly and evenly, the surface is ready. If it beads or absorbs unevenly, additional cleaning or etching may be needed before application begins.
The work required to remove an old sealer properly is real, and it is not glamorous. But professional applicators and experienced homeowners alike understand that it represents the most important investment you can make in the longevity of your new coating. A premium product like WOOD Rx, applied to a properly stripped and prepared surface, will deliver performance that far exceeds the same product applied over a compromised substrate. Start clean, and everything that follows works better, lasts longer, and looks far superior for years to come.