Understanding Recoat Timing
One of the most misunderstood aspects of professional coating applications is the recoat window—the critical timeframe between layers that can make or break your project's long-term performance. Apply too soon and you risk solvent entrapment, wrinkling, or adhesion failures. Wait too long and you may need additional surface preparation to achieve proper intercoat adhesion. Understanding these timing windows isn't just about following label directions—it's about recognizing how environmental conditions, substrate type, and coating chemistry interact to determine the optimal application schedule.;
The Science Behind Recoat Windows
Every coating system has both a minimum and maximum recoat window, though many applicators only pay attention to the minimum. The minimum recoat time ensures the previous layer has developed enough film integrity to support additional material without lifting, sagging, or creating solvent-related defects. This timing varies dramatically based on temperature, humidity, film thickness, and airflow. However, the maximum recoat window is equally critical—it represents the point where the coating surface has cured enough that mechanical abrasion or chemical etching may be needed to reactivate it for proper bonding with subsequent layers. High-performance coatings like epoxies and urethanes are particularly sensitive to maximum recoat windows due to their amine blush formation and surface cure characteristics.;
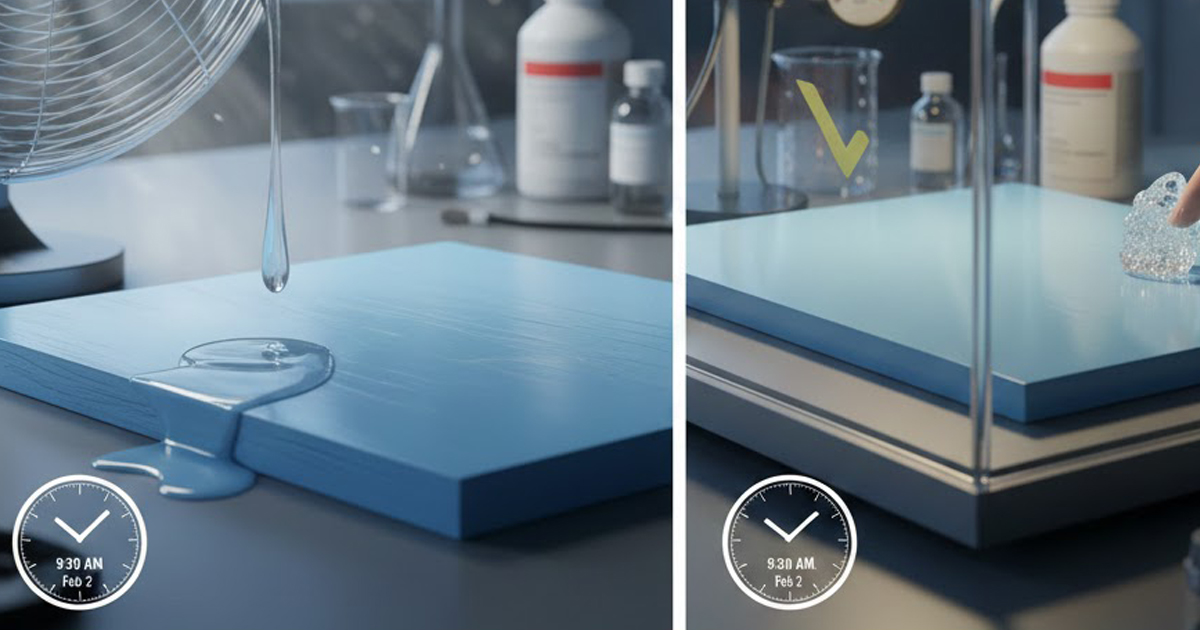
Environmental Impact on Recoat Schedules
Temperature and humidity don't just affect dry time—they fundamentally alter coating chemistry and recoat windows. In cold conditions below 50°F, many coatings experience dramatically extended cure times, sometimes stretching minimum recoat windows from hours to days. Conversely, hot conditions above 90°F can accelerate cure so rapidly that maximum recoat windows close within just a few hours, especially for fast-curing systems. Humidity adds another variable—high moisture levels can interfere with amine-cured epoxies, creating surface contamination that prevents proper adhesion between coats. Professional applicators adjust their recoat schedules based on real-time job site conditions, not just label recommendations developed under laboratory conditions.;
Testing for Recoat Readiness
Rather than relying solely on clock time, experienced professionals use tactile and visual indicators to determine recoat readiness. The thumbnail test—pressing a thumbnail firmly into the coating edge—should leave an impression without the coating feeling sticky or wet. For dry-to-recoat confirmation, the surface should feel dry to light touch but not fully hardened. If you can still detect solvent odor or see a glossy wet appearance, the coating needs more time regardless of what the schedule suggests. Between the minimum and maximum recoat windows, look for a slightly tacky surface that won't leave fingerprints but hasn't developed a hard cure. This represents the ideal chemical state for mechanical and chemical bonding with the next layer.;
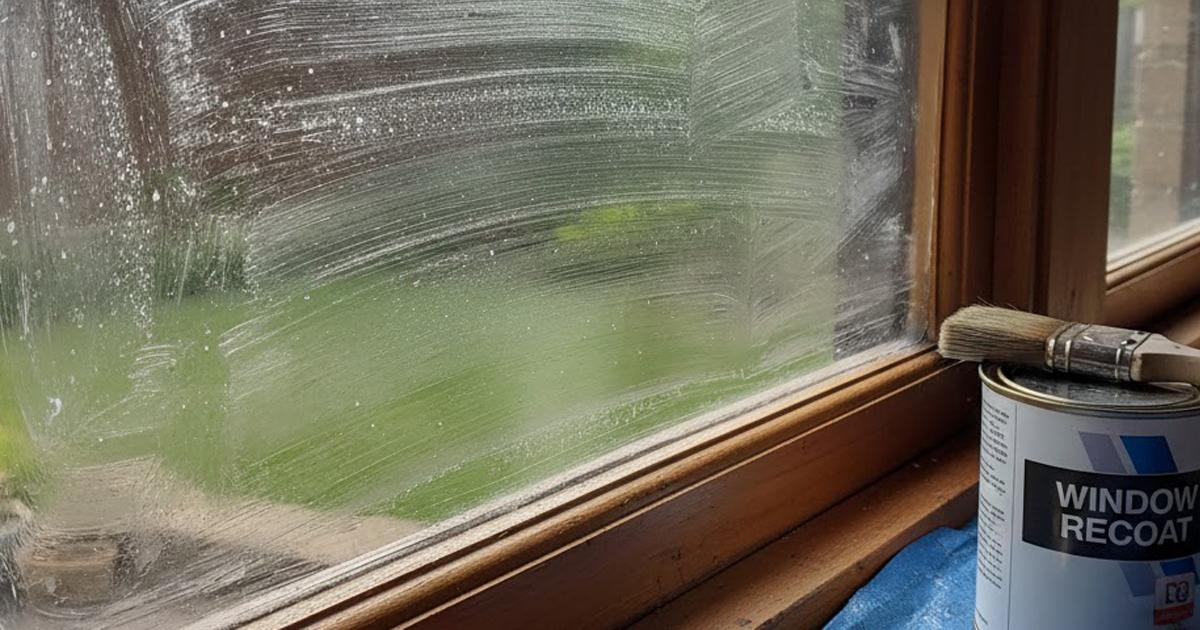
Managing Extended Delays Between Coats
When project schedules force delays beyond the maximum recoat window, proper surface preparation becomes essential for intercoat adhesion. For most coating systems that have exceeded their maximum recoat time, light mechanical abrasion with 180-220 grit sandpaper creates sufficient surface profile for the next coat. Water-based coatings may simply need scuff-sanding and cleaning, while solvent-based systems often require deglossing with appropriate solvents or abrasives. Two-component epoxies present special challenges—if amine blush has formed and cured, you'll need to remove it completely with water washing and abrasion before applying additional layers. The key is recognizing that once a coating has fully cured beyond its recoat window, you're essentially treating it as a new substrate requiring full preparation protocols.;
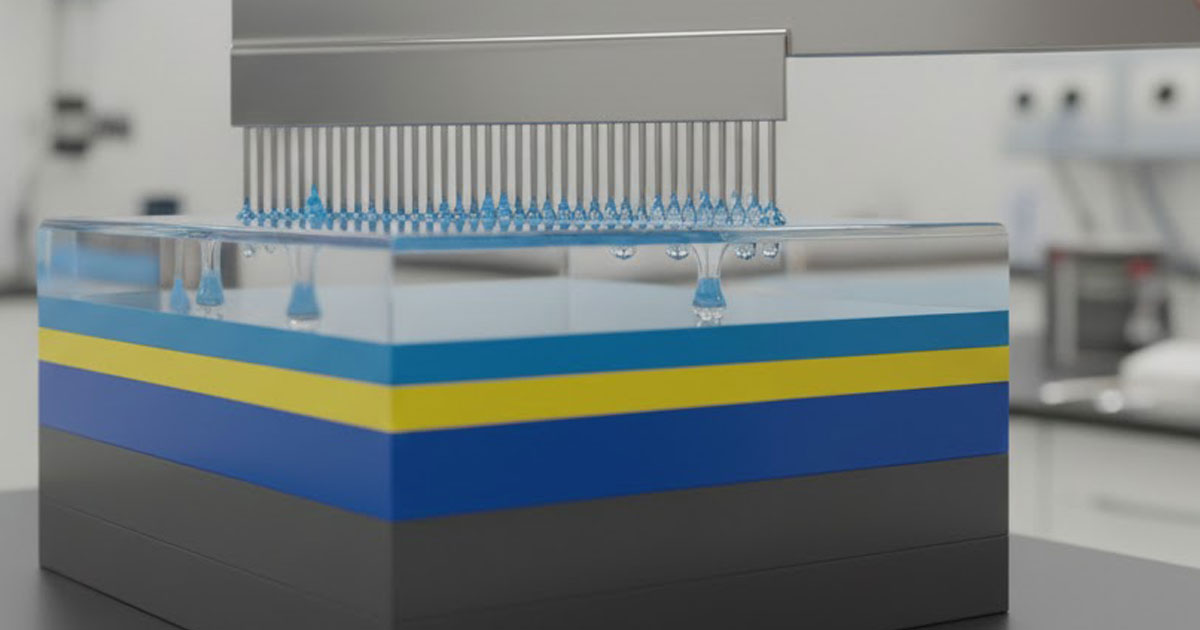
Multi-Layer Application Strategies
Complex coating projects requiring multiple layers demand systematic planning around recoat windows. Start by mapping out your ideal application schedule based on manufacturer guidelines and anticipated environmental conditions. Build in buffer time for unexpected delays, but plan your primary work schedule to hit ideal recoat windows. For large projects, stagger your application zones so you're always working within optimal windows rather than trying to coat entire areas at once. When applying multiple products in a system—primers, base coats, and topcoats—verify that each product's cure schedule aligns with the next product's substrate requirements. Some systems require specific recoat windows between different product types, particularly when moving from primers to finish coats.;
Avoiding Common Recoat Mistakes
The most frequent recoat error is applying additional material before solvent release is complete, trapping volatiles that later cause blistering, lifting, or premature failure. This is particularly common when applicators apply thick initial coats—extra thickness dramatically extends dry times beyond label estimates. Another common mistake is assuming all products in a manufacturer's line have the same recoat windows. Primers, basecoats, and topcoats often have dramatically different cure profiles even within the same system. Finally, many applicators fail to account for overnight temperature drops that can extend recoat windows unexpectedly. A coating that appeared ready for recoating at 5 PM may have experienced significantly slower cure overnight in cooler temperatures.;
Documentation and Quality Control
Professional coating contractors maintain detailed application logs documenting when each coat was applied, environmental conditions during application, and actual recoat times. This documentation protects against warranty issues and helps identify patterns when adhesion problems occur. Take photos of each layer before applying the next, capturing both the coated surface and environmental monitoring equipment readings. If you're working on a large project with multiple crews, establish clear communication protocols around recoat timing so different areas maintain consistent interlayer adhesion. For critical applications, perform adhesion testing on small sections before committing to full recoating—a simple crosshatch test can reveal whether you're within the proper recoat window.;
Temperature and Cure Modification Techniques
When environmental conditions threaten to push you outside optimal recoat windows, several techniques can help maintain schedule control. Localized heating or cooling can moderate substrate temperatures into ideal ranges, though you must heat or cool both the substrate and the coating material for consistent results. Dehumidification equipment helps manage moisture-related cure issues in high-humidity environments. For projects with unavoidable temperature swings, some coating manufacturers offer accelerators or retarders that modify cure chemistry to extend or compress recoat windows. However, these additives must be used precisely according to manufacturer guidelines, as improper use can compromise coating performance.;
The Long-Term Impact of Proper Recoat Timing
Coatings applied within optimal recoat windows develop superior intercoat adhesion that resists delamination, cracking, and premature failure. This chemical and mechanical bonding between layers creates a unified coating system rather than distinct layers that may separate under stress. Projects completed with careful attention to recoat windows show consistently better performance in adhesion testing, impact resistance, and long-term durability. The few extra hours spent respecting recoat windows pays dividends in warranty callbacks avoided, customer satisfaction maintained, and professional reputation protected. Whether you're applying basic architectural coatings or high-performance industrial systems, mastering recoat timing represents the difference between adequate results and truly professional performance that stands the test of time.;