



In professional coating work, the largest surface areas usually get the most attention—but it’s often the edges, corners, and transitions that determine whether a project truly succeeds or fails. These small, high-stress zones are where peeling begins, moisture intrudes, and visible imperfections stand out the most. Managing edge detailing properly isn’t just about aesthetics; it’s about structural performance and long-term durability.
Below are practical, field-tested insights to help you handle edges and transitions like a seasoned pro.
Why Edges and Transitions Are the Most Vulnerable Areas
Edges and terminations experience more mechanical stress than flat surfaces. Foot traffic, equipment movement, and thermal expansion all concentrate pressure along these lines. Thin film build is also common at edges, especially when coatings are rolled or squeegeed without intentional back-brushing.
Transitions—such as floor-to-wall joints, expansion joints, drains, and penetrations—create natural weak points. These areas often have different materials meeting each other, meaning movement rates vary. If not properly addressed, cracking, delamination, and moisture intrusion are almost guaranteed over time.
Understanding Film Build at Edges
One of the most common mistakes in coating applications is uneven film thickness at edges. When coatings are applied, gravity and tool pressure naturally pull material away from sharp corners. This results in thinner protection exactly where you need more.
To prevent this:
-
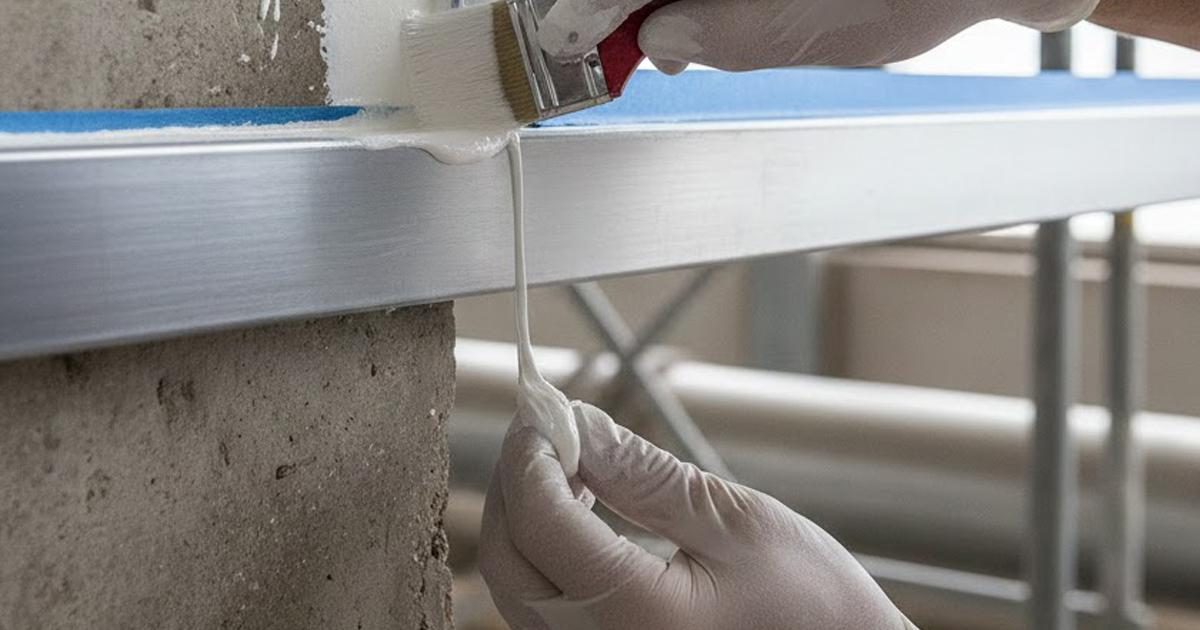
Pre-stripe edges before full application.
-
Use a brush to force material into corners.
-
Slightly round sharp edges when possible to improve coating hold.
-
Verify mil thickness manually at transitions instead of assuming uniform coverage.
Edge striping before your main application pass ensures these areas achieve the required protective thickness.
Proper Surface Prep for Corners and Joints
Corners often receive less mechanical preparation than open areas. Grinding equipment may not fully reach tight areas, leaving laitance, dust, or contaminants behind.
Best practices include:
-
Hand grinding or detail sanding corners.
-
Cleaning joints thoroughly with compressed air and vacuum systems.
-
Checking for micro-cracks before coating.
-
Ensuring expansion joints are properly treated or masked according to system design.
Skipping prep in corners is one of the fastest ways to create early failure points.
Managing Coating Transitions Between Different Materials
Concrete meeting metal. Coating meeting sealant. Floor meeting wall. Each of these transitions behaves differently under stress.
Key considerations:
-
Confirm compatibility between materials.
-
Allow for movement with flexible transition materials where needed.
-
Avoid rigid coatings over active joints unless specified.
-
Reinforce high-movement zones with fabric or flexible membranes if the system requires it.
Ignoring material movement is one of the most expensive long-term mistakes in coating work.
Dealing with Vertical-to-Horizontal Transitions
Cove bases, stem walls, and vertical upturns demand special attention. Gravity works against you here, increasing the risk of sagging, thin spots, and runs.
Professional techniques include:
-
Applying slightly thinner lifts vertically.
-
Allowing proper tack time before additional coats.
-
Using specialty rollers designed for vertical surfaces.
-
Feathering transitions carefully to avoid buildup ridges.
A smooth transition isn’t just visually appealing—it reduces stress concentrations and cleaning issues later.
Preventing Moisture Intrusion at Termination Points
Termination points—doorways, drains, and open slab edges—are common moisture entry zones. If coatings aren’t properly sealed at these boundaries, water can migrate underneath the system.
To prevent this:
-
Use termination strips where appropriate.
-
Create clean, deliberate stop lines.
-
Seal exposed edges thoroughly.
-
Avoid feathering coatings to nothing at exit points.
A clean termination is a protective barrier, not just a visual edge.
Inspecting Before Final Cure
Once the coating is applied, edges should be inspected before full cure sets in. It’s much easier to correct thin areas or minor imperfections while the material is still workable.
During inspection:
-
Look for fisheyes or pullback at edges.
-
Check for pinholes at transitions.
-
Confirm consistent film thickness.
-
Touch up areas that appear dry or starved.
This final check dramatically increases long-term reliability.
The Difference Between Average and Professional Results
Large open surfaces can look great even when small detailing mistakes are present. But over time, failures almost always begin at edges, joints, and transitions. Professionals understand that the small details carry the biggest consequences.
Managing edge detailing isn’t extra work—it’s part of doing the job correctly. When edges are properly prepped, reinforced, coated, and inspected, the entire system performs better and lasts longer.
In coating applications, the margins determine the outcome.