




One of the most common mistakes coating applicators make is skipping the test patch phase and going straight to full-scale application. While it might seem like a time-saver in the moment, bypassing this critical step can lead to costly rework, wasted product, and frustrated clients. At INSECO, we strongly recommend using color samples and test patches as standard protocol before any full coating application begins. This guide explains why, how, and when to use them effectively.
Why Test Patches Matter More Than You Think
When working with premium specialty coatings like those in the INSECO product line, a test patch is not optional — it is an essential diagnostic and confirmation tool. Every substrate is different. Wood can vary in density, grain structure, moisture content, and previous treatment history. Concrete, brick pavers, and natural stone each respond uniquely to penetrating sealers and surface coatings. Even two boards cut from the same tree can absorb coating at different rates.
A test patch allows you to evaluate several critical variables before committing to a full application, including:
- How the substrate absorbs the coating
- Whether the color or sheen level meets client expectations
- How the surface reacts to the specific product chosen
- Whether additional surface preparation is needed
- How the coating performs under local environmental conditions during the test cure window
Skipping this step is one of the primary reasons applicators experience unexpected results, particularly with products like WOOD Rx, where natural wood variability can significantly affect the final appearance of the coating.
How to Set Up and Evaluate a Proper Test Patch
Choosing the Right Location
When setting up a test patch, select a section of the actual project surface rather than a separate sample board whenever possible. A test applied to the real substrate in a representative area will give you the most accurate preview of the final result. Choose a location that receives similar sun exposure, has comparable grain or texture to the surrounding areas, and has been prepared the same way as the rest of the project surface.
If the project involves multiple substrate types — for example, a deck with both wood planks and a concrete border — run separate test patches on each surface type. Do not assume that results on one material will predict behavior on another.
Applying the Test Patch Correctly
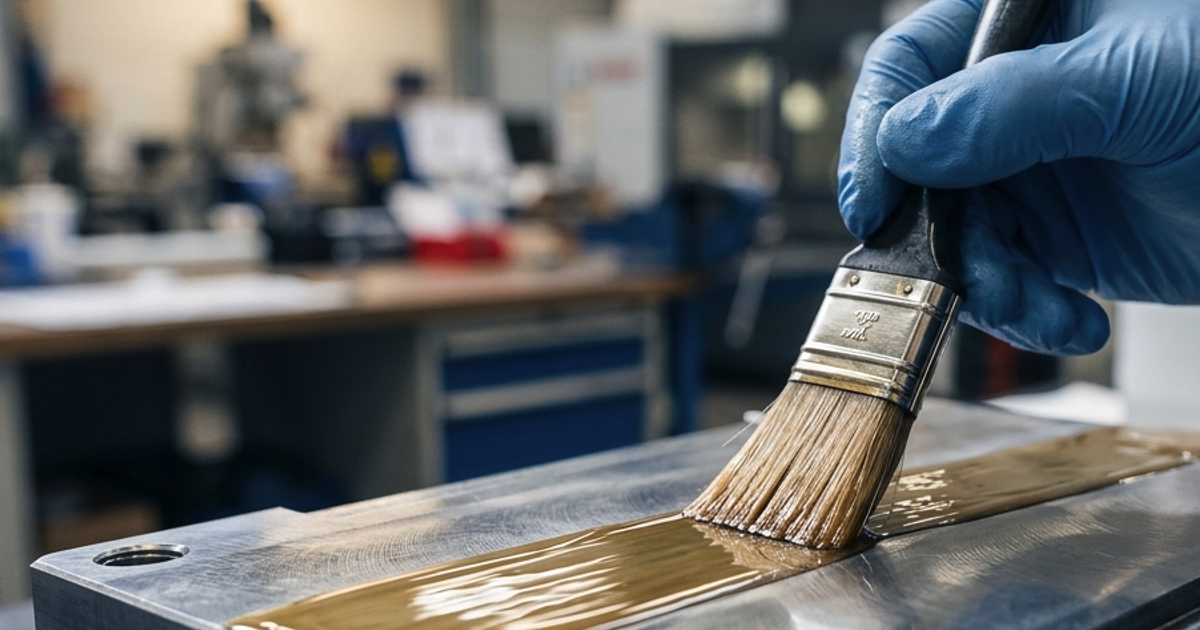
Apply the test patch using the same tools, technique, and application rate you plan to use on the full project. If you intend to apply two coats on the main project, apply two coats on the test patch as well. This mirrors real-world conditions and gives you an accurate preview of the final film build, sheen, and color depth. Document the application rate, number of coats, and conditions at the time of application including temperature, humidity, and direct sunlight exposure.
Allow the test patch to cure fully according to the product's technical data sheet before evaluating it. Evaluating a wet or partially cured patch will not give you reliable results and can lead to poor decisions about the full application.
What to Look for When Evaluating Results
Once the test patch has fully cured, evaluate it carefully under different lighting conditions — both natural daylight and artificial light if the project surface will be viewed indoors or at night. Look for the following:
- Color accuracy and tone compared to expectations or client approvals
- Uniformity of sheen across the entire test area
- Penetration depth and surface coverage on porous substrates
- Any unusual texturing, grain raising, or surface lifting
- Early signs of adhesion problems, cracking, or bubbling
- How the surface feels underfoot or to the touch if tactile performance matters
If anything looks unexpected, consult INSECO's technical support team before moving forward. Our team can help you interpret what you're seeing and recommend adjustments to product selection, surface prep, or application technique.
Using Color Samples to Set Client Expectations
The Role of Color Samples in Project Planning
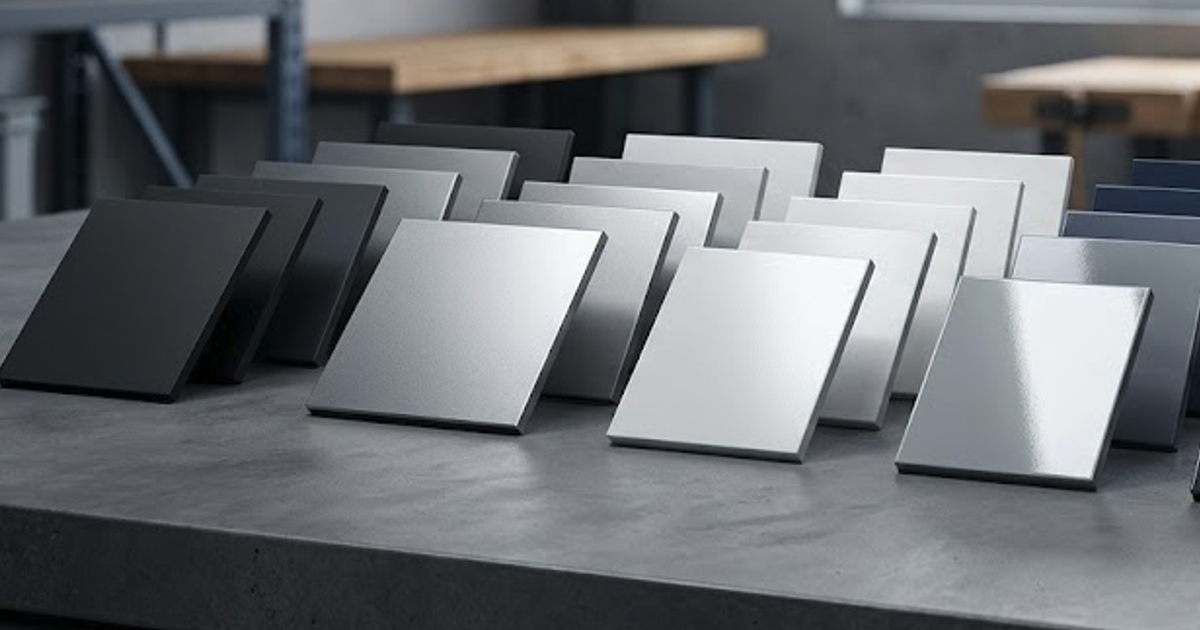
Color samples serve a different but equally important purpose compared to test patches. While a test patch confirms technical performance on the actual substrate, a color sample is a communication and approval tool. It establishes a shared visual reference between the applicator and the client before work begins. This prevents misunderstandings, scope disputes, and dissatisfied clients at project completion.
When working with INSECO's tinted or pigmented coating options, always prepare a physical color sample on a representative substrate chip or panel and have the client sign off on it before ordering large quantities of product. Digital color swatches on screens are notoriously unreliable — they are affected by monitor calibration, screen brightness, and ambient light. A physical sample eliminates this ambiguity.
Keeping Records of Approved Samples
Once a client approves a color sample, retain a physical copy along with written documentation of the product name, batch number, tint formula if applicable, and any substrate preparation details. This record becomes your reference point if questions arise mid-project or during future maintenance applications. INSECO's product labeling and batch tracking systems are designed to support this documentation process, helping ensure color consistency across project phases and future recoat cycles.
Handling Color Variation Across Large Surface Areas
Natural substrates like wood and stone will inherently show variation in color absorption. Even with consistent application technique, different sections of a large deck or patio can appear slightly different in tone due to natural material variability. Setting this expectation with clients before application begins — and demonstrating it through the test patch process — is far better than explaining it after the job is done.
INSECO's penetrating sealers, including the flagship WOOD Rx product, are formulated to enhance and work with natural substrate variation rather than mask it. This is a feature, not a flaw, but it must be communicated clearly to clients unfamiliar with how premium penetrating coatings behave versus film-forming paints.
Integrating Test Patches and Color Samples Into Your Standard Workflow
The most professional applicators treat test patching and color sampling as non-negotiable steps in every project, regardless of their experience level or familiarity with a product. Even if you have applied a particular INSECO product dozens of times, a new substrate, a different climate, or a unique client preference can change what success looks like on any given job.
Build time for test patches into your project schedule and communicate this to clients as a sign of quality craftsmanship rather than a delay. Most clients who understand the purpose of this step will appreciate it as evidence that you take the quality of your work seriously. It also protects you professionally by establishing a documented record that the final approach was reviewed and approved before full application began.
If you have questions about how to set up test patches or interpret results for any INSECO product, our technical support team is available to walk you through the process. INSECO has been providing comprehensive technical assistance since 1996, and helping applicators get it right the first time is at the core of what we do.