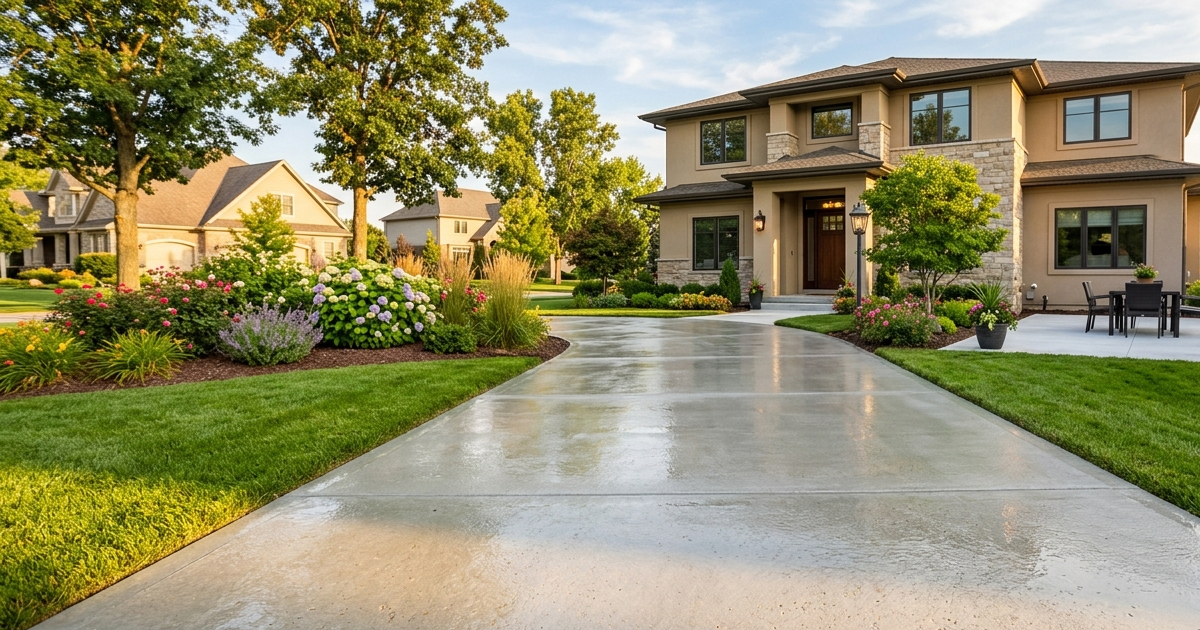
Brick pavers are one of the most visually striking and durable surfacing options available for driveways, walkways, patios, and pool decks. When properly installed and maintained, they can last decades and dramatically enhance curb appeal and property value. But here is where most homeowners and even some contractors fall short: they either skip sealing entirely or rush through the process without understanding what they are actually trying to accomplish. The result is premature fading, weed intrusion, joint sand erosion, and a surface that looks tired and worn far ahead of its time.
At INSECO, we have spent nearly three decades helping professionals and homeowners get surface protection right. Brick paver sealing is one of the most misunderstood applications in the specialty coatings world, and we want to change that. This guide breaks down exactly what you need to know to seal brick pavers correctly, the first time and every time after.
Why Sealing Brick Pavers Is Not Optional
There is a common misconception that brick pavers are naturally tough enough to handle anything the environment throws at them without any added protection. While it is true that pavers are denser and more durable than standard poured concrete in many respects, they are still highly porous materials that absorb water, oils, fertilizers, and contaminants on a daily basis.
Left unsealed, brick pavers are vulnerable to a range of damaging conditions that compound over time.
- Efflorescence: White, chalky mineral deposits that migrate to the surface as water moves through the paver material. This is one of the most common complaints from homeowners with unsealed pavers.
- Joint sand erosion: Rain and foot traffic gradually wash away the polymeric or regular sand between pavers, leading to instability, shifting, and weed or ant intrusion.
- UV fading: Ultraviolet radiation bleaches the color pigments in both the pavers themselves and any joint material, leaving surfaces looking dull and washed out within just a few seasons.
- Oil and stain absorption: Driveways and pool decks are particularly susceptible to oil, grease, sunscreen, and chemical staining that penetrates deeply into unsealed paver surfaces.
- Freeze-thaw damage: In colder climates, water trapped inside porous pavers expands when it freezes, causing internal cracking and surface spalling over time.
A quality paver sealer creates a protective barrier that addresses all of these vulnerabilities simultaneously. Beyond protection, the right sealer also enhances color, restores a like-new appearance, and locks in joint sand for a more stable and professional finished look.
Pro Tips for Proper Brick Paver Surface Preparation
If there is one place where paver sealing projects fail most often, it is in the preparation phase. Applying sealer over a dirty, wet, or compromised surface is the single fastest way to guarantee a poor result. Here is how to prepare your pavers correctly before a single drop of sealer hits the surface.
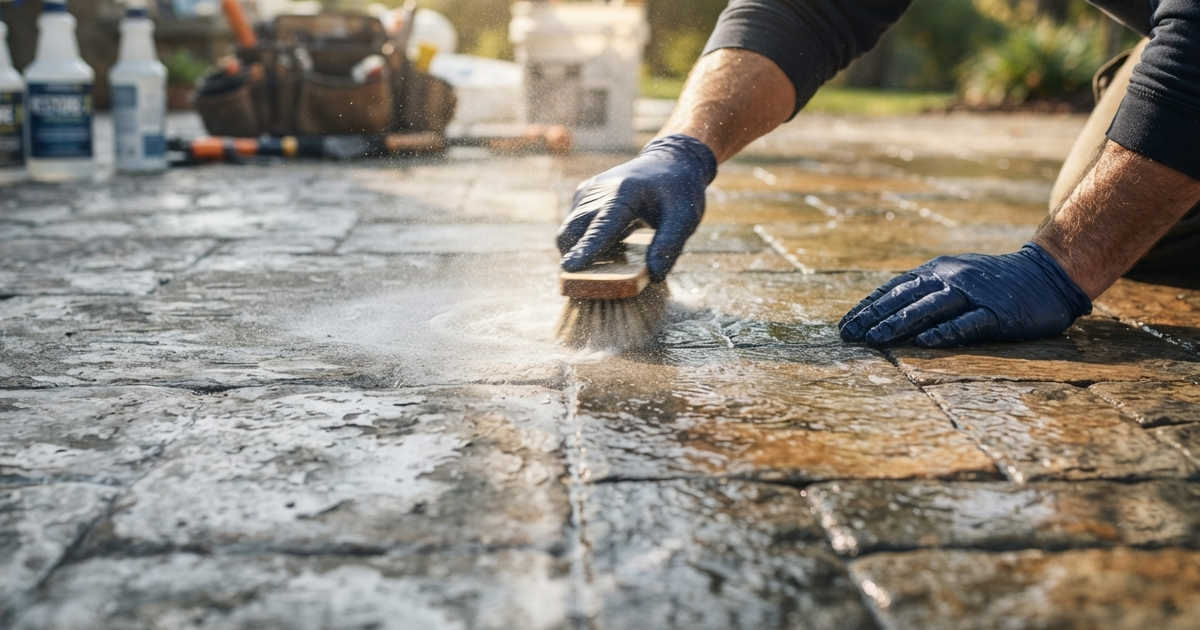
Step One: Deep Clean the Entire Surface
Begin with a thorough pressure washing of all paver surfaces. Use a surface cleaner attachment where possible to achieve even cleaning without streaking. For driveways and high-traffic areas, you will likely need a dedicated degreaser to lift embedded oil and grease stains. Work the degreaser into the surface with a stiff bristle brush and let it dwell according to the product directions before rinsing thoroughly.
Pro Tip: Avoid using excessive pressure on older or softer pavers, as high-pressure water can erode surface texture and accelerate joint sand loss. A controlled, medium-pressure setting with the right cleaning chemistry will always outperform brute-force pressure washing alone.
Step Two: Address Efflorescence Before It Locks In
If you notice white mineral deposits on the surface, address them with an efflorescence cleaner or a diluted muriatic acid solution before sealing. Sealing over efflorescence will trap it under the coating and make it nearly impossible to remove later without stripping the sealer entirely. Take the time to neutralize and rinse the surface completely after any acid treatment.
Step Three: Allow Complete Drying Time
This is the most commonly skipped step and one of the leading causes of sealer failure on paver surfaces. Moisture trapped beneath a sealer film will cause bubbling, whitening, and adhesion failure. After washing, allow a minimum of 24 to 48 hours of dry weather before applying any sealer. In humid climates or during cooler months, extend that drying window to 72 hours or more. Always verify surface moisture using a plastic sheet test or a professional moisture meter before proceeding.
Step Four: Re-sand Joints If Necessary
If joint sand is low, eroded, or missing in areas, top it off with polymeric sand before sealing. Tamp it in firmly and remove all excess sand from the paver surface. Residual sand on the face of the pavers will be locked in by the sealer and create a gritty, unprofessional appearance. Blow off or sweep the surface clean, then use a leaf blower to clear the finest particles from paver faces before application.
Choosing the Right Sealer and Applying It Like a Professional
Not all paver sealers are created equal, and the wrong product choice can undermine even the best surface preparation work. Understanding the key differences between sealer types will help you select the right product for your specific conditions and expectations.
Solvent-Based vs Water-Based Paver Sealers
Solvent-based sealers generally offer a richer, deeper color enhancement and a higher-gloss finish that many homeowners and commercial clients prefer. They penetrate more aggressively into the paver surface and typically provide excellent durability in high-traffic and high-exposure environments. However, they require careful handling due to VOC content and proper ventilation during application.
Water-based sealers have improved dramatically in recent years and now represent a very viable option for residential applications where ease of use and lower odor are priorities. They still deliver solid protection and a range of finish levels from matte to semi-gloss, and they are generally more environmentally friendly.
Pro Tip: Always verify sealer compatibility with the specific paver material you are working with, particularly if the pavers are manufactured concrete pavers rather than natural clay brick. Some sealers can affect the appearance of concrete-based pavers differently than traditional fired brick.
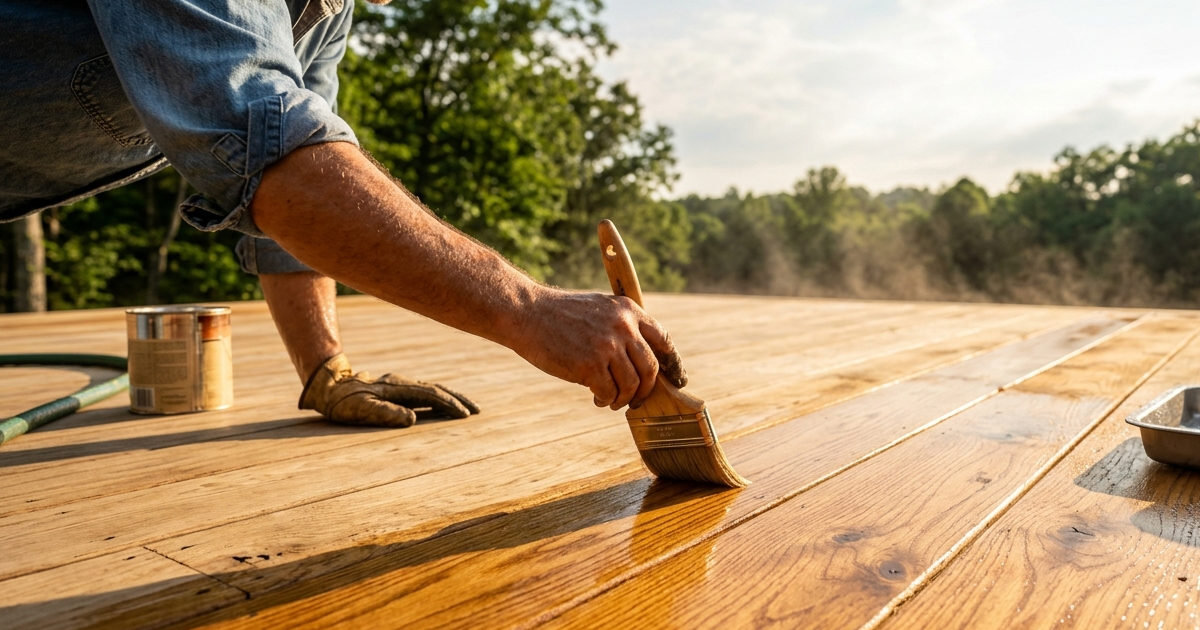
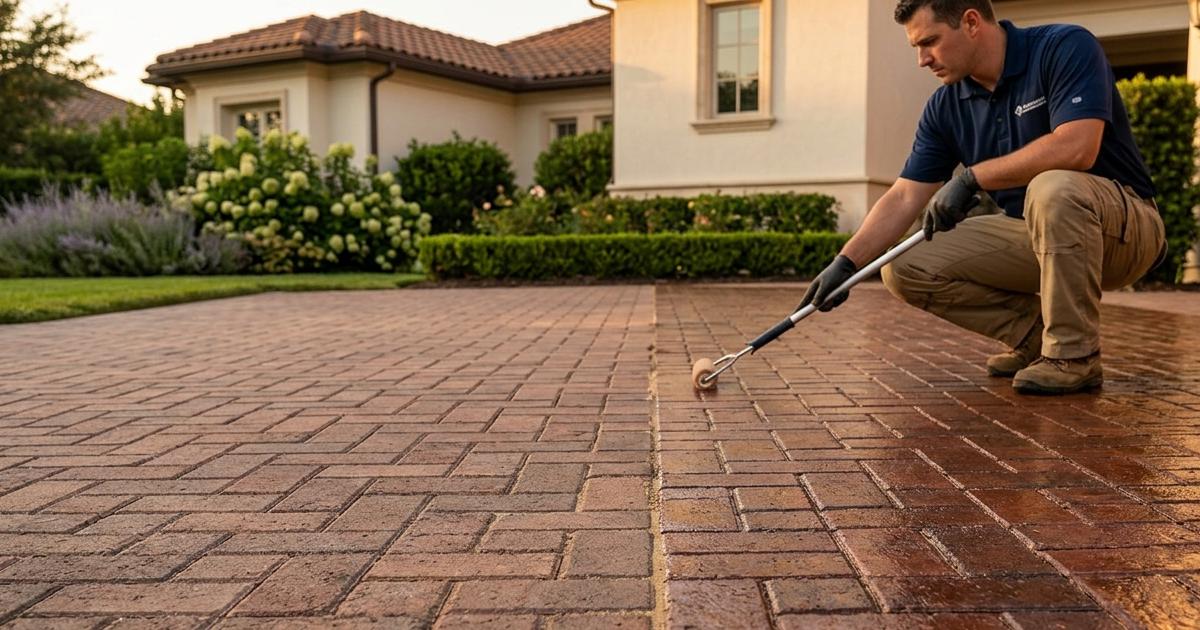
Application Technique Makes All the Difference
For most residential paver projects, a low-pressure pump sprayer paired with a quality roller or squeegee provides the most even and controlled application. Apply sealer in thin, even coats rather than flooding the surface with a single heavy coat. Heavy application is one of the most common causes of bubbling, white haze, and extended dry times on paver surfaces.
Pro Tip: Apply sealer during cooler parts of the day, ideally in the early morning or late afternoon, and avoid application in direct sunlight when surface temperatures are elevated. Hot surfaces accelerate solvent flash-off and can cause premature skinning that traps solvents below the film surface, leading to bubbling and adhesion issues.
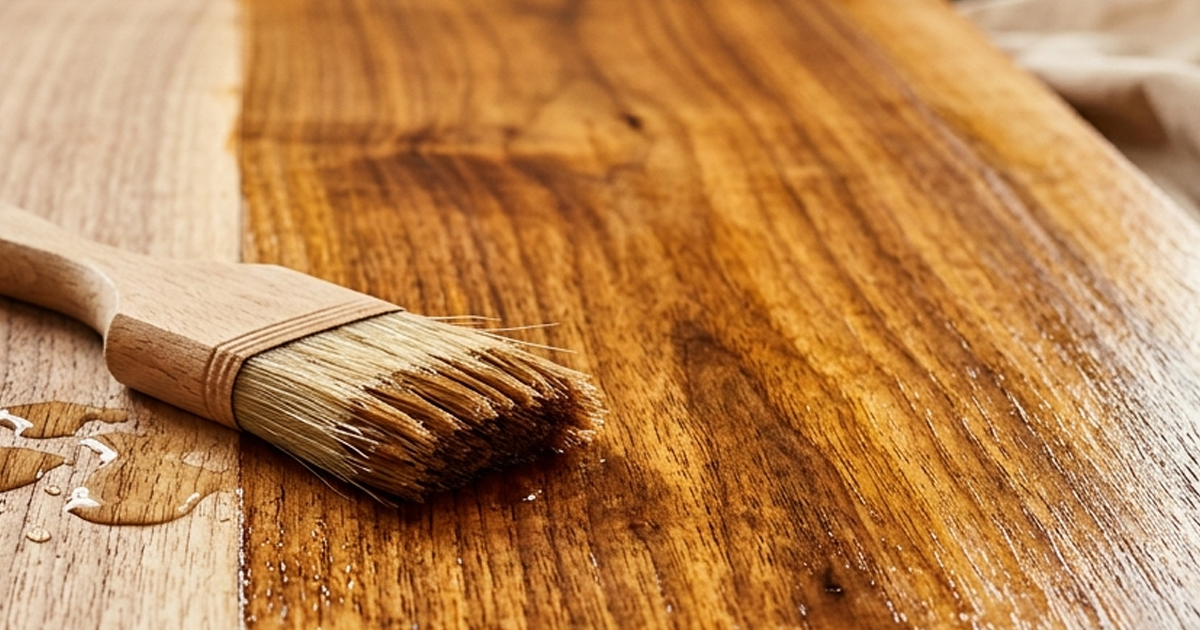
Two Coats Is Almost Always Better Than One
For maximum protection and color enhancement, plan for two thin coats of sealer rather than one heavy application. Allow the first coat to dry to a tack-free state before applying the second coat. This approach builds a more uniform, durable film and reduces the risk of trapped solvents or moisture causing finish defects. On highly porous pavers, the first coat may absorb almost entirely, making a second coat essential for achieving meaningful surface protection.
Maintenance and Resealing Intervals
Even the highest quality paver sealer will eventually require reapplication as UV exposure, traffic, and weathering gradually break down the protective film. Most exterior paver sealers should be evaluated every two to three years in moderate climates and annually in high-UV, high-traffic, or coastal environments where salt air accelerates degradation.
Signs that your paver sealer needs attention include visible fading or loss of sheen, water that no longer beads on the surface, renewed efflorescence activity, or joint sand that appears loose or eroded. When these signs appear, clean the surface thoroughly, make any necessary repairs, and apply a fresh coat of compatible sealer to restore full protection.
Pro Tip: Keep a record of the sealer product you used, including the product name, finish level, and application date. This information is invaluable when it comes time to recoat, ensuring proper compatibility and consistent appearance across reapplication cycles.
Brick paver sealing done right is one of the most rewarding surface protection projects you can undertake. The combination of enhanced appearance, extended surface life, and reduced long-term maintenance costs makes it a smart investment for both residential and commercial properties. At INSECO, we are here to help you select the right product and apply it with confidence. Reach out to our technical team for product recommendations and guidance tailored to your specific project conditions.