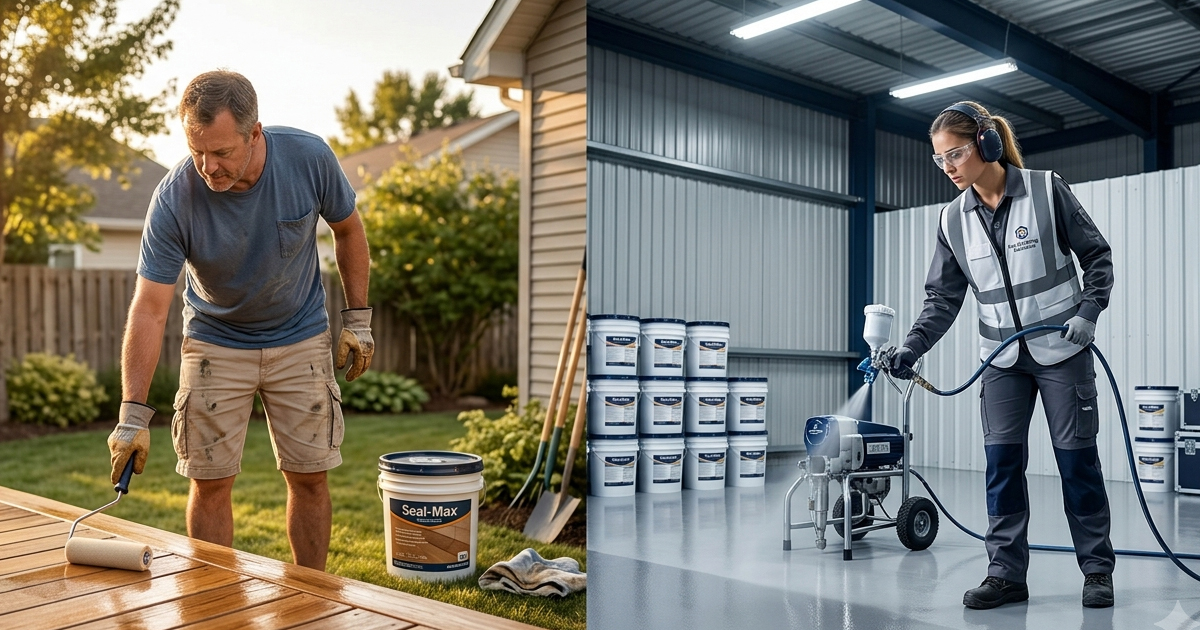
In the specialty coatings industry, one truth consistently separates successful outcomes from costly failures: the quality of your final coating result is almost entirely determined before you open a single can of product. Surface preparation is not a preliminary step — it is the foundation upon which every effective seal, every year of lasting protection, and every satisfied client relationship is built. Whether you are a homeowner looking to protect your deck for the next decade or a commercial contractor scaling a high-volume wood sealing business, mastering the preparation process is the single most impactful investment you can make.
At INSECO, we have spent more than 25 years watching premium coatings underperform not because of product deficiencies, but because the surfaces beneath them were not properly ready. This guide addresses that gap with the depth and specificity the topic deserves.
Why Surface Preparation Matters More Than You Think
Wood is a living, breathing material. Even after it has been cut, milled, and installed, it continues to respond to its environment — absorbing moisture, expanding and contracting with temperature changes, oxidizing in ultraviolet light, and accumulating contaminants on its surface over time. When a sealer is applied to wood that has not been thoroughly cleaned, stripped of prior coatings, or properly dried, it cannot penetrate and bond the way it was formulated to do.
The consequences are not subtle. Peeling begins within months. Gray oxidation bleeds through prematurely. Moisture finds pathways into the wood fiber that the coating was supposed to close. What follows is a cycle of premature reapplication, frustrated customers, and damaged professional reputations — all of which are entirely preventable with a disciplined preparation process.
The Business Case for Getting Preparation Right
For contractors, the preparation phase is where your competitive advantage is either built or squandered. Clients may not fully understand the chemistry of wood sealers, but they absolutely understand when a job holds up beautifully for five years versus when it starts showing wear in the first season. A reputation built on durability becomes one of the most powerful referral engines a coatings business can have. When you consistently invest time in proper preparation, you are not just protecting wood — you are protecting your business.
Step-by-Step: The Complete Wood Surface Preparation Process
Preparing wood for sealing is a multi-stage process. Each stage addresses a different category of issue and must be completed in the correct sequence to achieve the best possible results with products like INSECO's flagship WOOD Rx wood sealer.
Step One: Inspection and Assessment
Before any physical work begins, a thorough visual inspection of the surface is essential. Walk the entire area and note the following conditions:
- Presence of existing sealers, stains, or paint and their current condition
- Areas of graying or UV oxidation on the wood surface
- Mold, mildew, or algae growth, particularly in shaded or moisture-prone zones
- Raised grain, splintering, or cracking in the wood fiber
- Loose boards, protruding fasteners, or structural concerns that should be addressed before coating
- Signs of wood rot or moisture damage that may require board replacement
- Recent construction or new wood that may still contain mill glaze
This inspection informs your preparation plan and ensures you select the right cleaning agents, tools, and application methods for the specific conditions present. For commercial contractors, this step should be documented and shared with the client as part of your professional process.
Step Two: Cleaning the Surface
Cleaning is the most critical preparation step and the one most commonly rushed. The goal is to remove every category of surface contaminant — dirt, biological growth, grease, tannin bleed, old coating residue, and oxidized wood fiber — so that the new sealer can make direct, unobstructed contact with the raw wood below.
For most residential decks, fences, and exterior wood structures, a combination approach works best. Begin with a wood cleaner or brightener specifically formulated for the task. These products typically contain oxalic acid or sodium percarbonate compounds that lift gray oxidation, neutralize tannins, and kill mold and mildew at the surface level. Apply the cleaner according to manufacturer instructions, allow appropriate dwell time, and work in manageable sections to prevent the product from drying on the surface before rinsing.
Pressure washing is an effective rinsing method, but it must be used with care. Use a fan-tip nozzle rather than a pinpoint stream, maintain consistent distance from the surface — typically 12 to 18 inches — and always move in the direction of the wood grain. Excessive pressure can raise wood grain, create furring, and damage softer wood species. After washing, the wood must be allowed to dry completely before any sealer is applied. Depending on weather conditions, this drying period typically ranges from 48 to 72 hours minimum.
Step Three: Stripping Prior Coatings When Necessary
One of the most common preparation mistakes is applying a new sealer over an existing coating that has not been fully removed. This is particularly problematic when the old coating has begun to fail, as the new product will bond only to the failing surface beneath it and not to the wood itself. The result is a coating system that peels from the substrate within a short period.
When old sealers, stains, or paint are present, they must be stripped before reapplication. Chemical strippers formulated for wood are the most effective option and should be selected based on the type of existing coating. Oil-based products require different stripping chemistry than water-based products, and paint requires more aggressive treatment than a light film-forming sealer. After stripping, the surface should again be cleaned, brightened, and thoroughly dried before moving to the next stage.
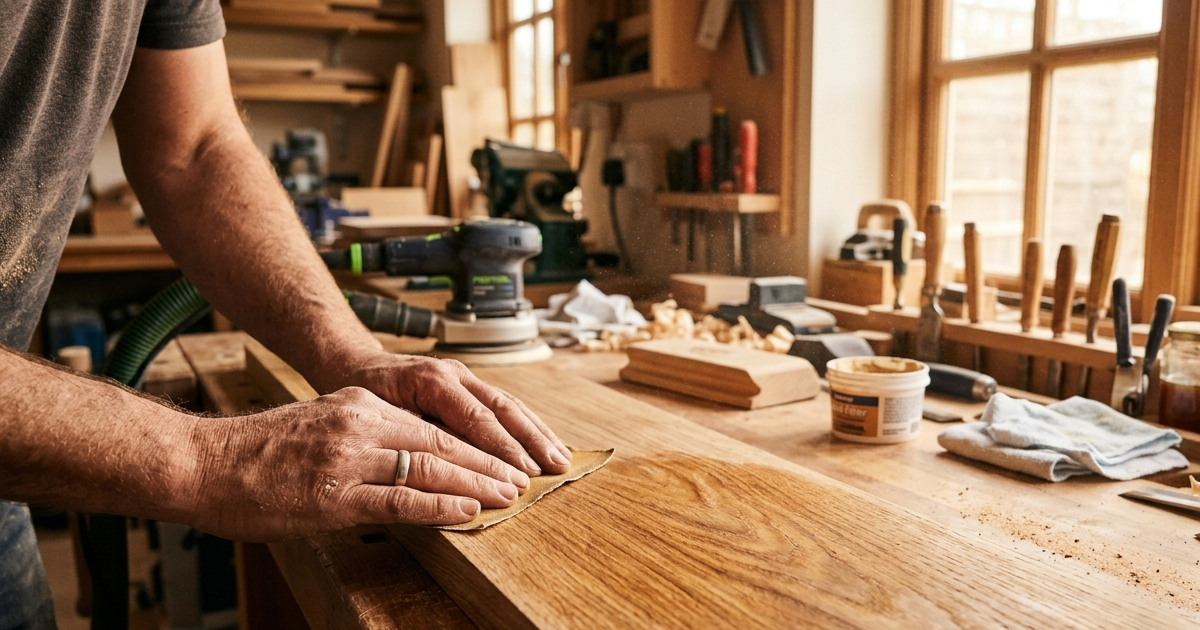
Step Four: Sanding and Surface Smoothing
Once the wood is clean, stripped of old coatings, and fully dry, any areas of raised grain, rough texture, or minor surface damage should be addressed with light sanding. This step is especially important on surfaces where pressure washing has raised the wood fiber, or where weathered and checked wood presents an uneven texture that would interfere with even sealer application.
Use medium-grit sandpaper — typically 60 to 80 grit — for initial smoothing, and follow with a finer 100 to 120 grit pass for a uniform surface. Sand with the grain and be thorough but not aggressive. After sanding, remove all dust and debris with a blower or tack cloth before proceeding. On commercial projects where large surface areas are involved, orbital or belt sanders significantly reduce time without compromising quality when used correctly.
Step Five: Final Moisture Check
This step is non-negotiable, yet frequently skipped. Applying a sealer to wood that has not reached an appropriate moisture content is one of the leading causes of adhesion failure and premature coating breakdown. Most penetrating wood sealers, including WOOD Rx, require the wood to be at or below 15 percent moisture content for proper penetration and bonding.
Invest in a quality moisture meter and test multiple points across the surface, including areas that receive less sun exposure and are slower to dry. Do not estimate based on the number of dry days since cleaning — actual moisture readings are the only reliable data point. If moisture levels remain elevated, extend the drying period and retest before proceeding.
Special Considerations for Different Wood Types and Project Scales
New Wood and Mill Glaze
Freshly milled wood often presents a condition called mill glaze — a compressed, slightly sealed surface created during the milling process that resists penetration by sealers. New pressure-treated lumber may also contain residual chemicals and preservatives that interfere with coating adhesion. New wood should be allowed to weather for four to eight weeks before sealing, or treated with a wood brightener to open the surface. Always test a small area first to confirm that the sealer is being absorbed properly before proceeding with full application.
Hardwoods vs Softwoods
Different wood species respond differently to preparation and sealing. Dense hardwoods like ipe, teak, and mahogany have natural oils and tight grain structures that can resist penetrating sealers if not properly prepared. These species may benefit from a light solvent wipe-down prior to sealing to remove surface oils and ensure better absorption. Softer woods like pine, cedar, and redwood are more porous and absorbent, making thorough cleaning and moisture control the primary preparation priorities.
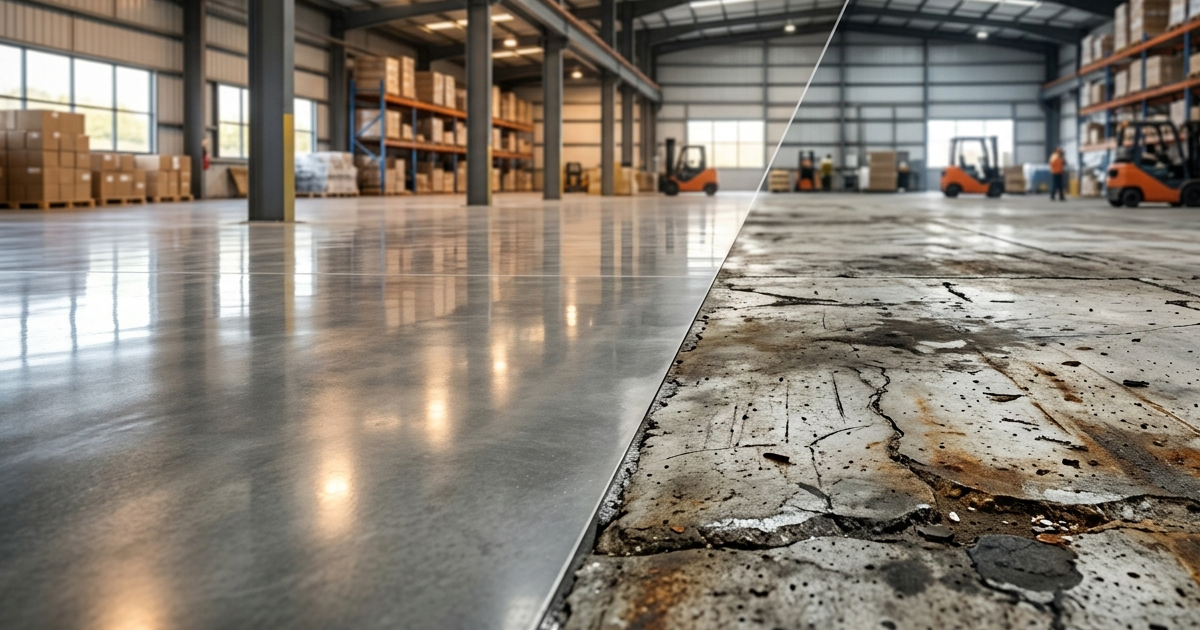
Scaling Preparation for Commercial Projects
On large commercial projects — boardwalks, resort decking, commercial fencing, or multi-unit residential properties — the preparation process requires the same rigor applied at scale. This means equipment selection matters enormously. Commercial-grade pressure washers, bulk chemical applicators, industrial moisture meters, and organized crew workflows are all components of a preparation system that maintains quality across large surface areas without creating bottlenecks or inconsistencies.
For contractors working at this scale, creating documented preparation checklists and crew training protocols ensures that every member of the team executes each step with the same standard. This consistency is what transforms preparation from an individual skill into a repeatable business process — and repeatable processes are the engine of scalable growth.
The INSECO Approach: Product Performance Starts with Preparation
INSECO's WOOD Rx is engineered to deliver exceptional penetration, UV protection, and long-term surface defense. But like all premium coatings, its performance is unlocked only when the surface beneath it has been properly prepared. The investment in preparation is what allows WOOD Rx to do what it was designed to do — penetrate deeply, bond at the fiber level, and create a barrier that holds up through seasons of weather, foot traffic, and UV exposure.
When clients ask why a previous sealer failed or why their deck needs resealing after only one season, the answer almost always traces back to preparation. As a contractor, making preparation excellence a visible and communicated part of your service offering differentiates you in a market where many applicators cut corners. As a homeowner, understanding this process helps you evaluate the quality of contractors you hire and make informed decisions about DIY projects.
Proper surface preparation is not the unsexy part of the coating process. It is the part that makes everything else work. Master it, document it, communicate it, and build your reputation on it — and both your surfaces and your business will reflect that commitment for years to come.